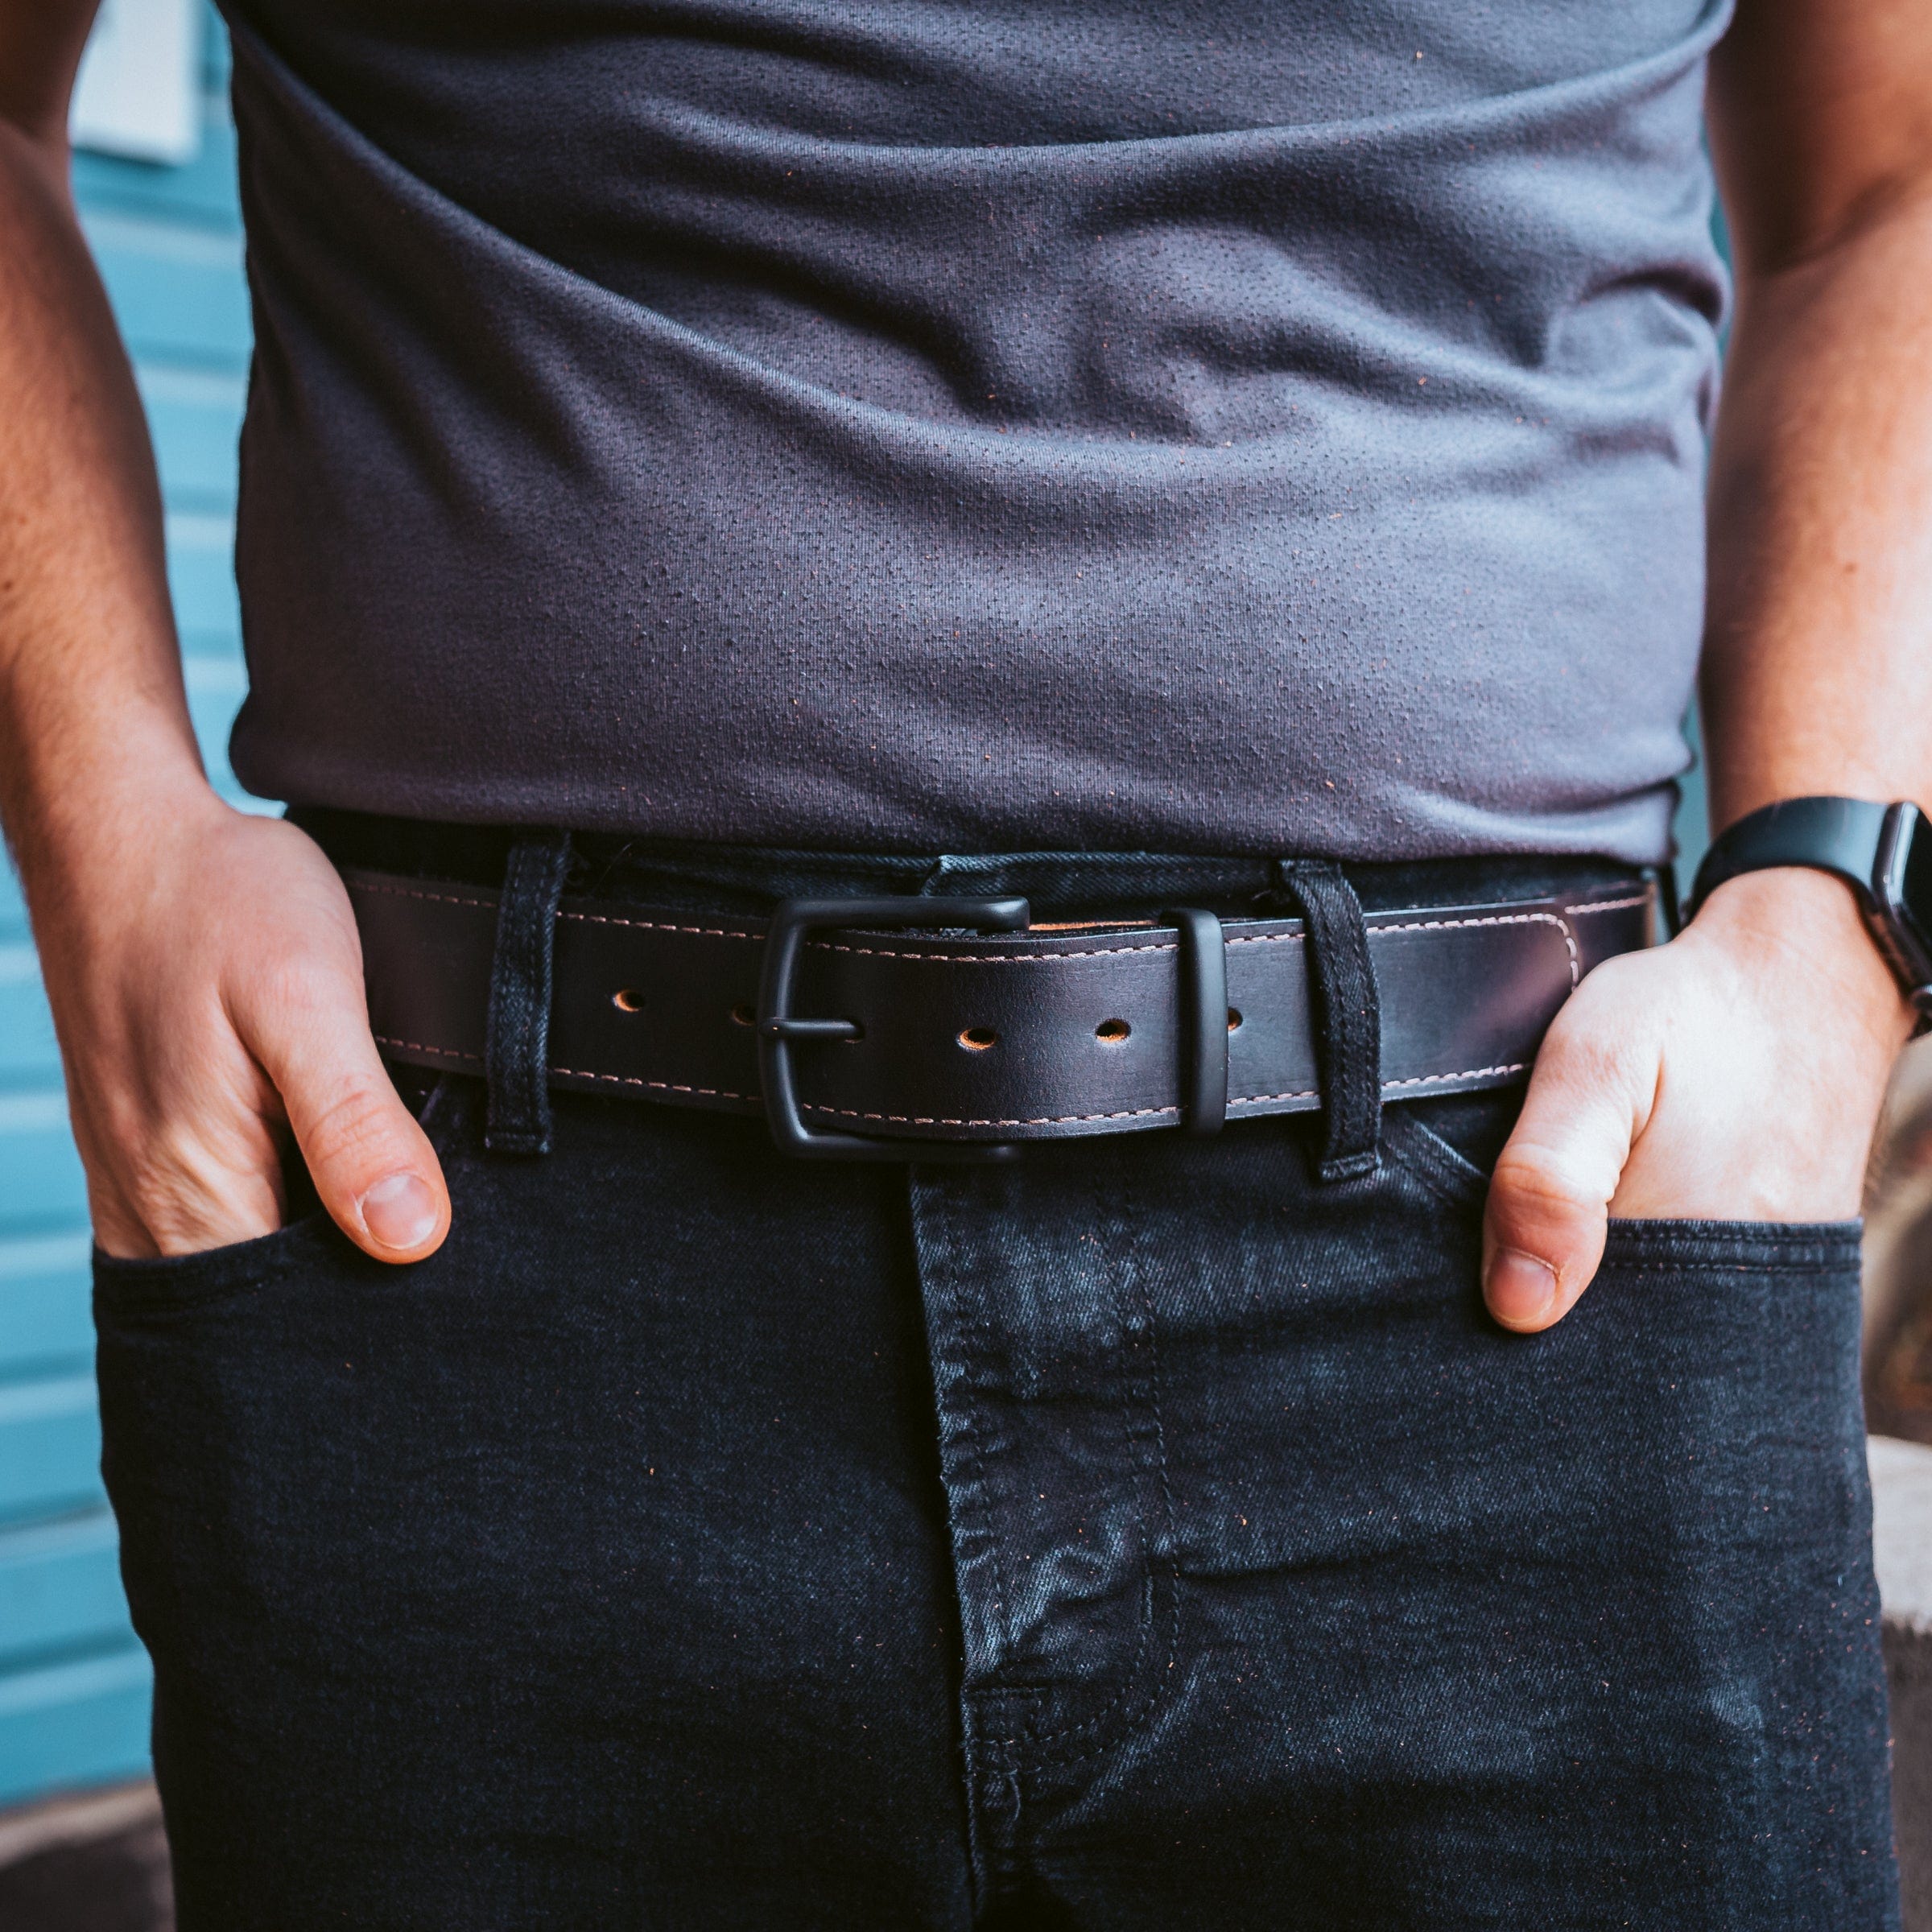
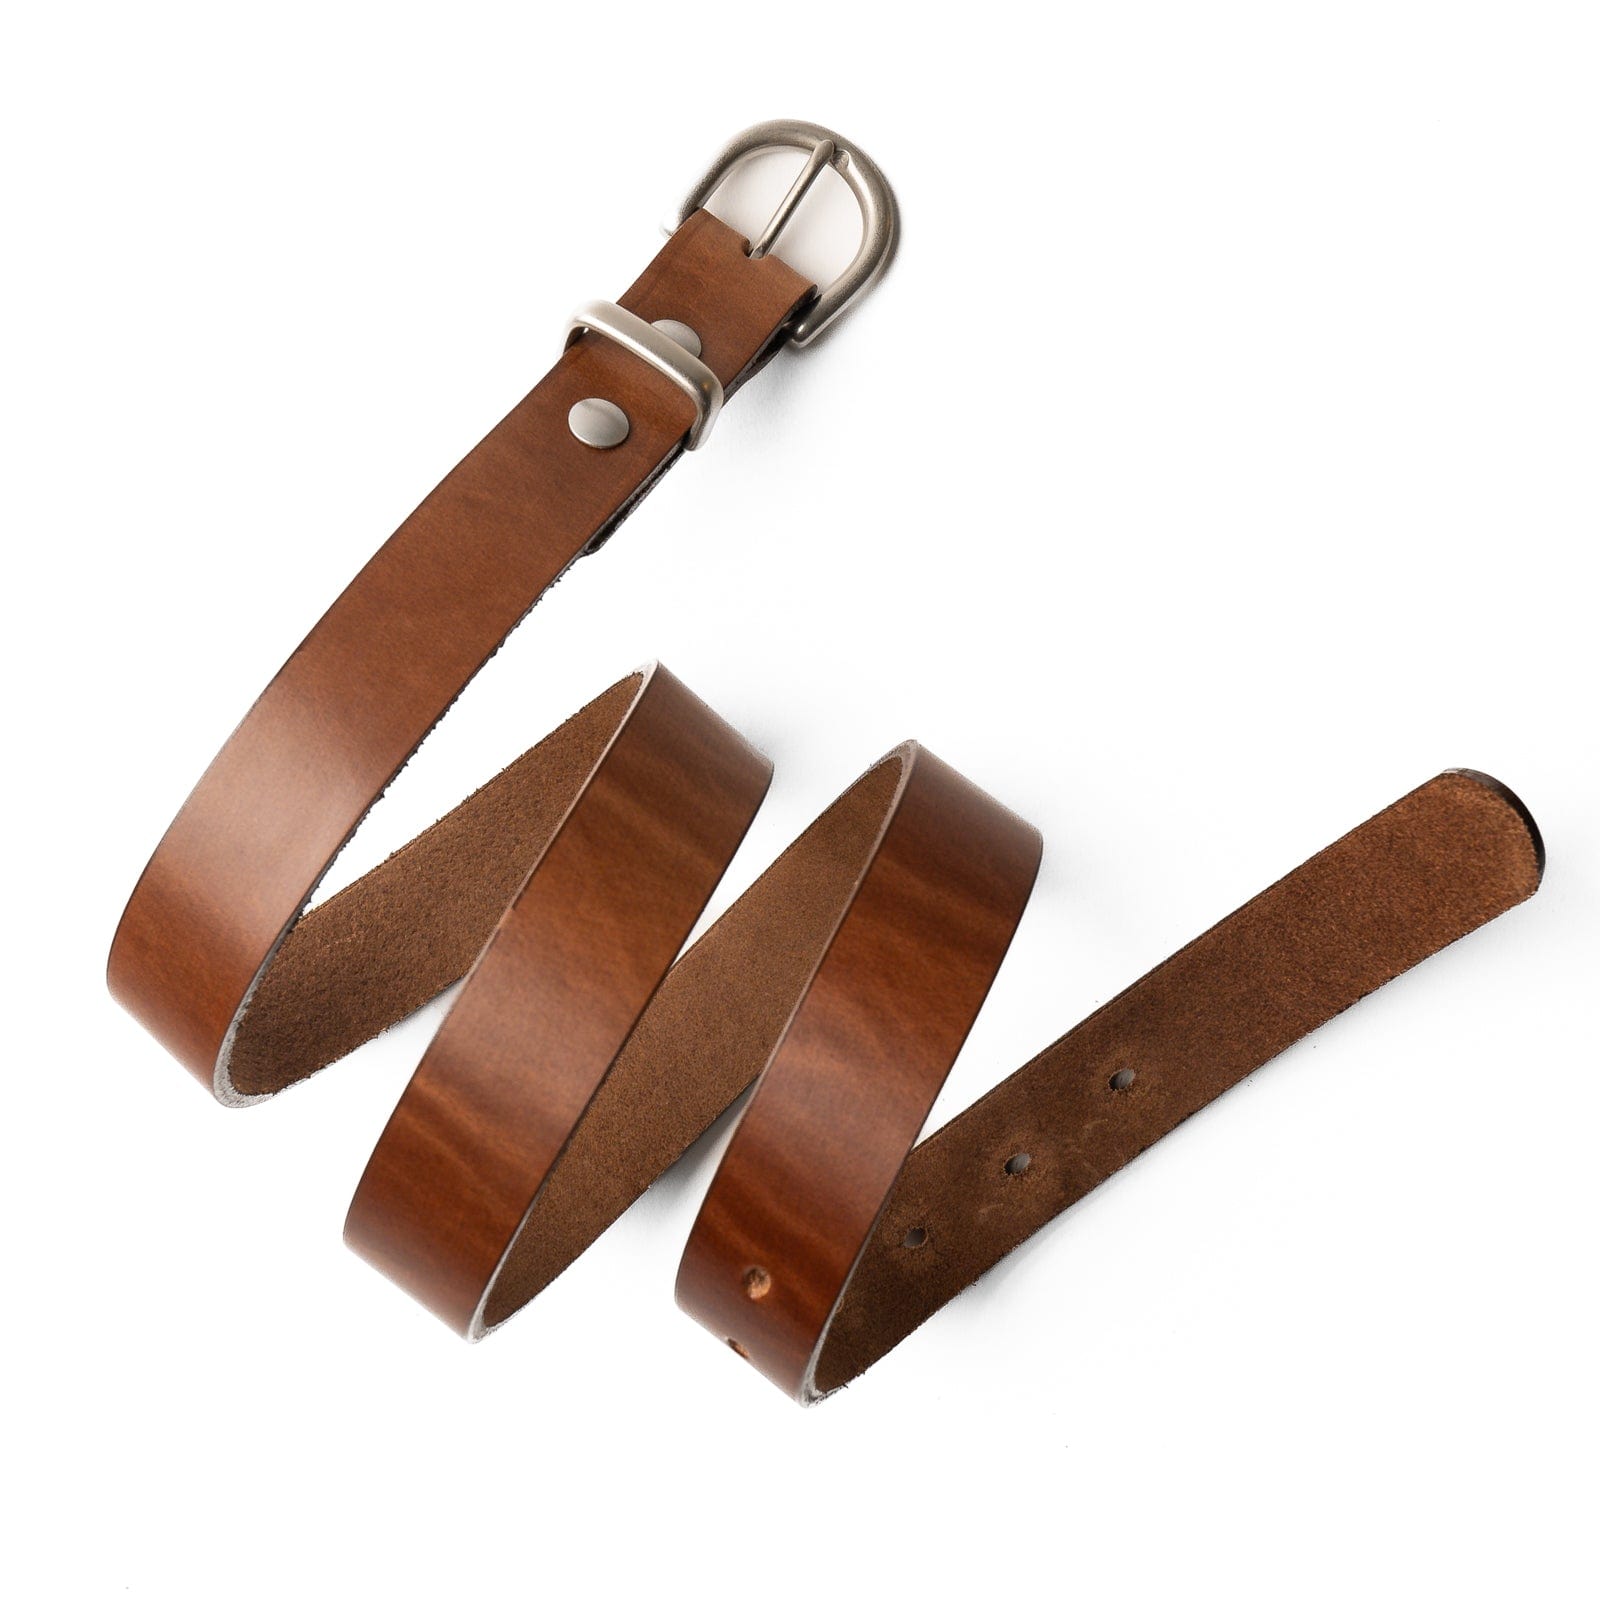
Leather Belts
Every Popov belt is cut from 9oz full-grain leather and made by hand in our Nelson, BC workshop. Backed by a lifetime guarantee.

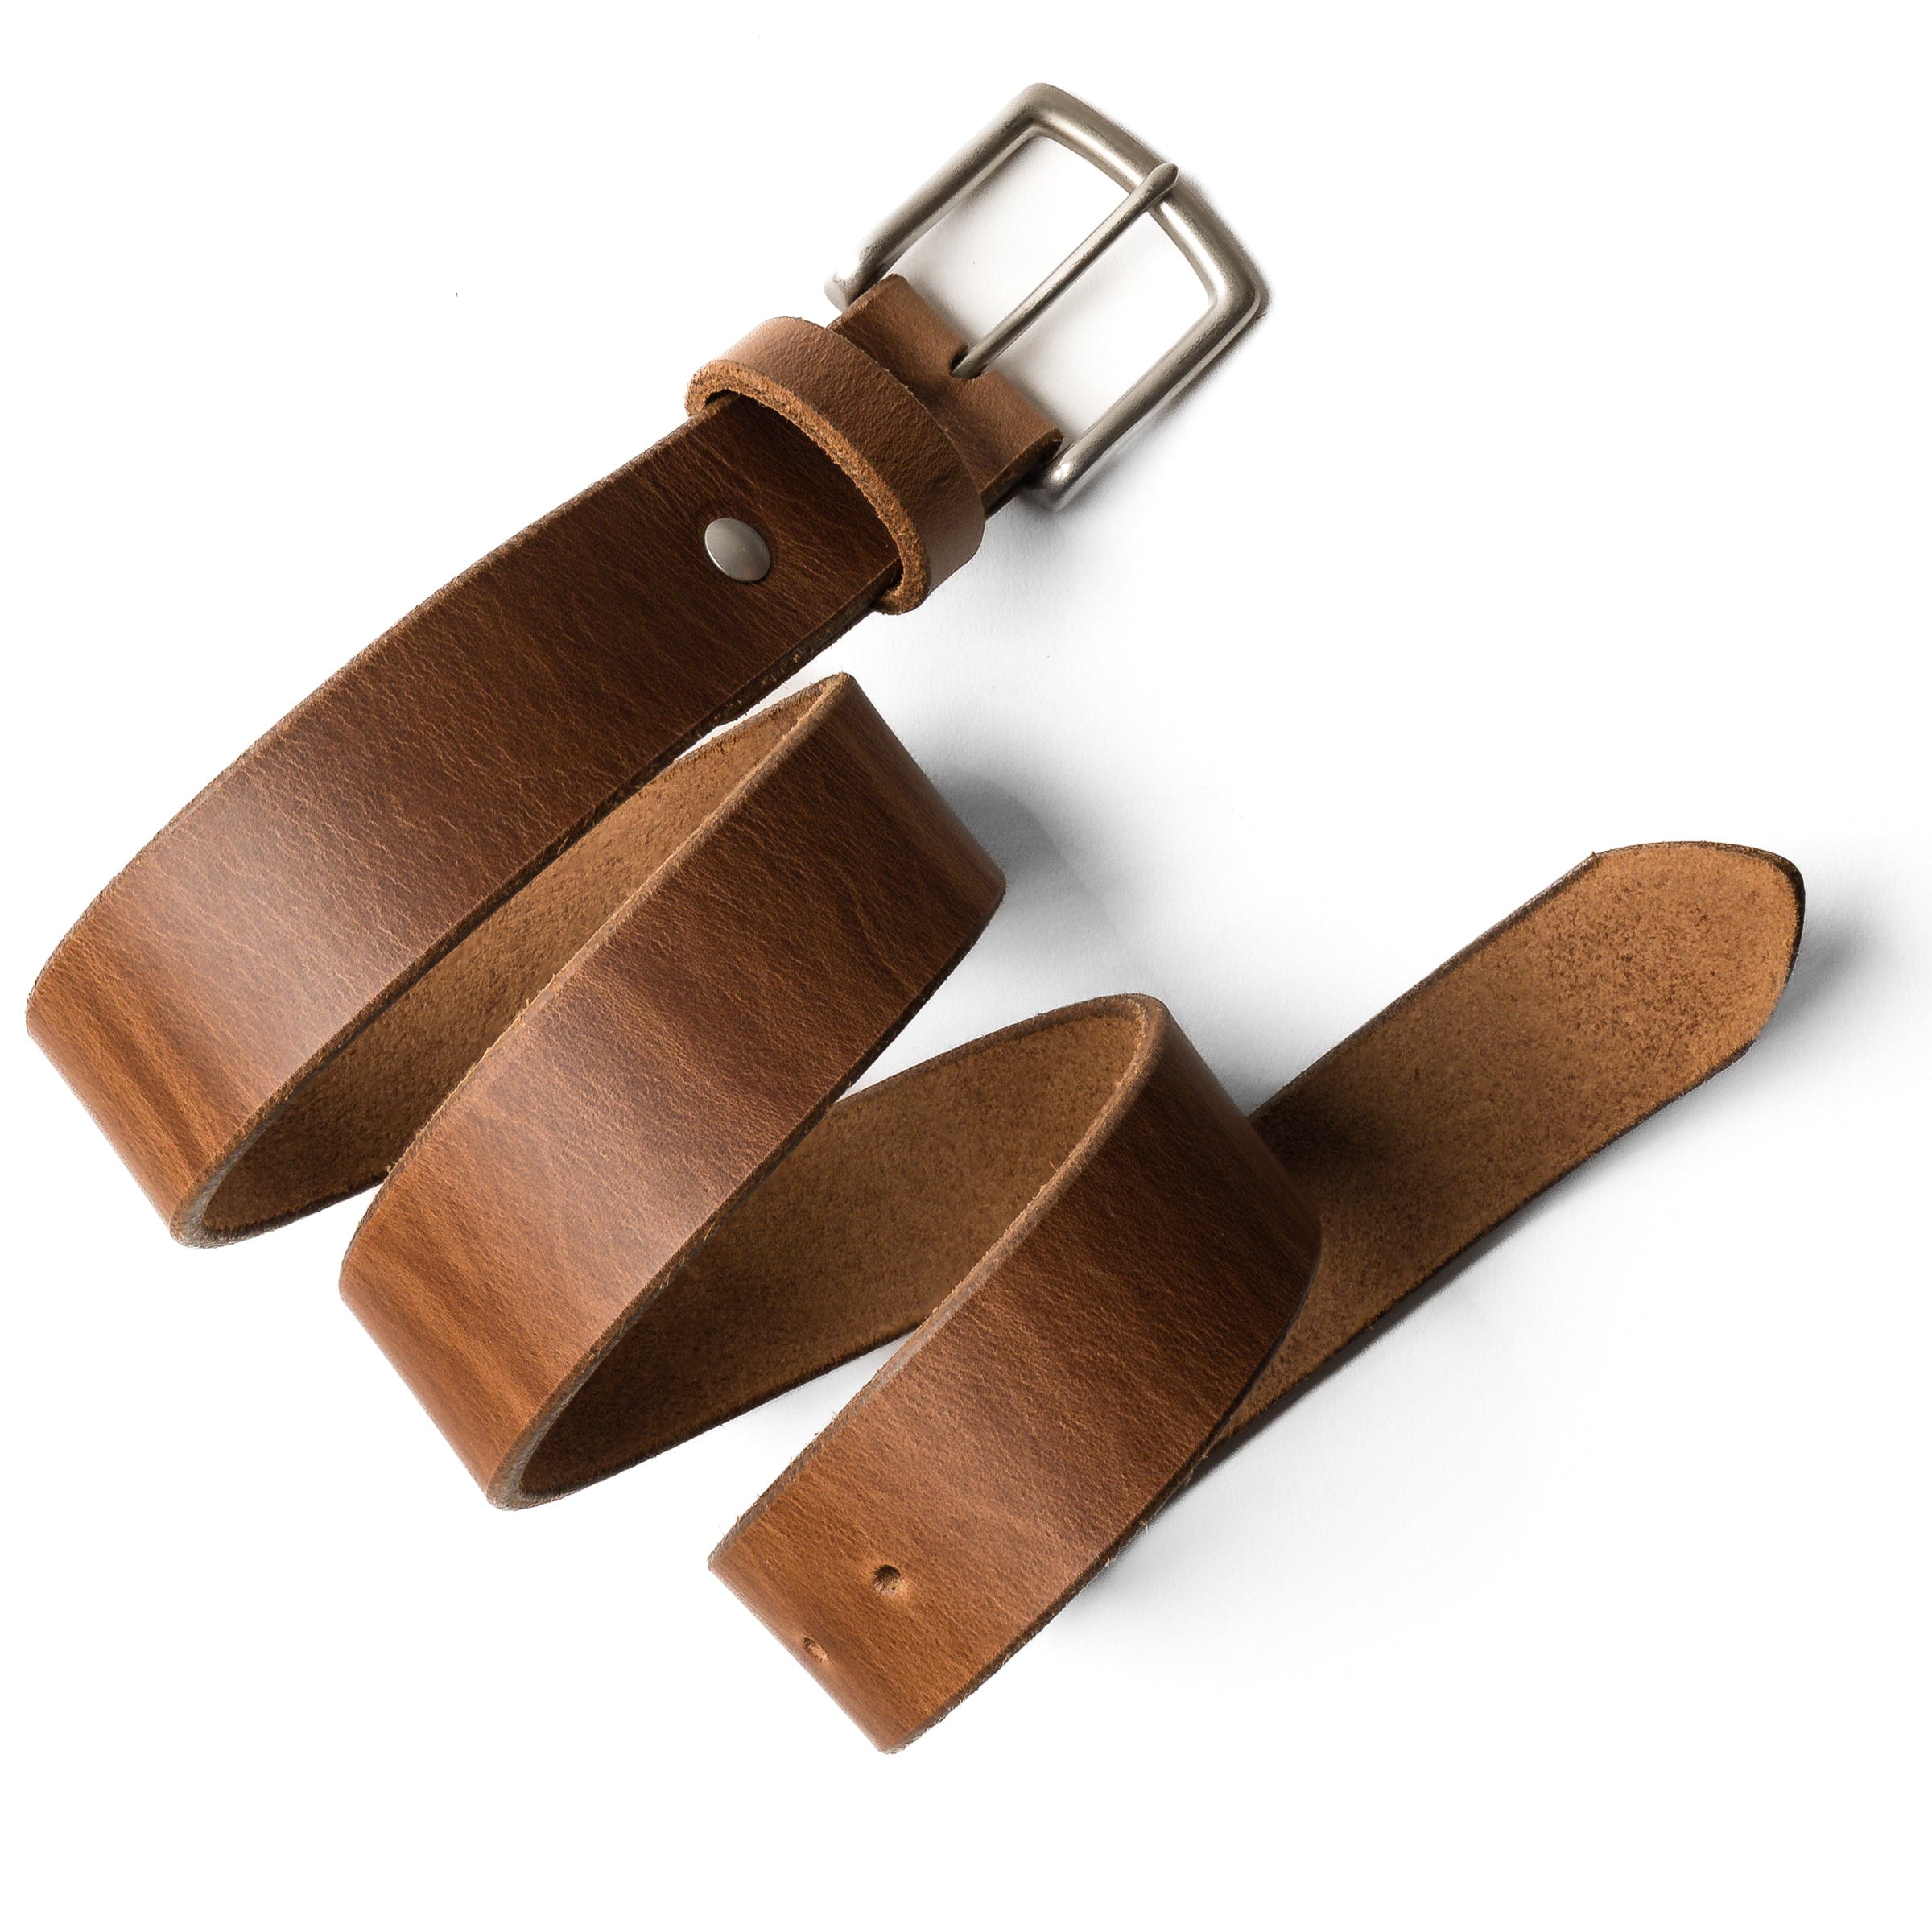
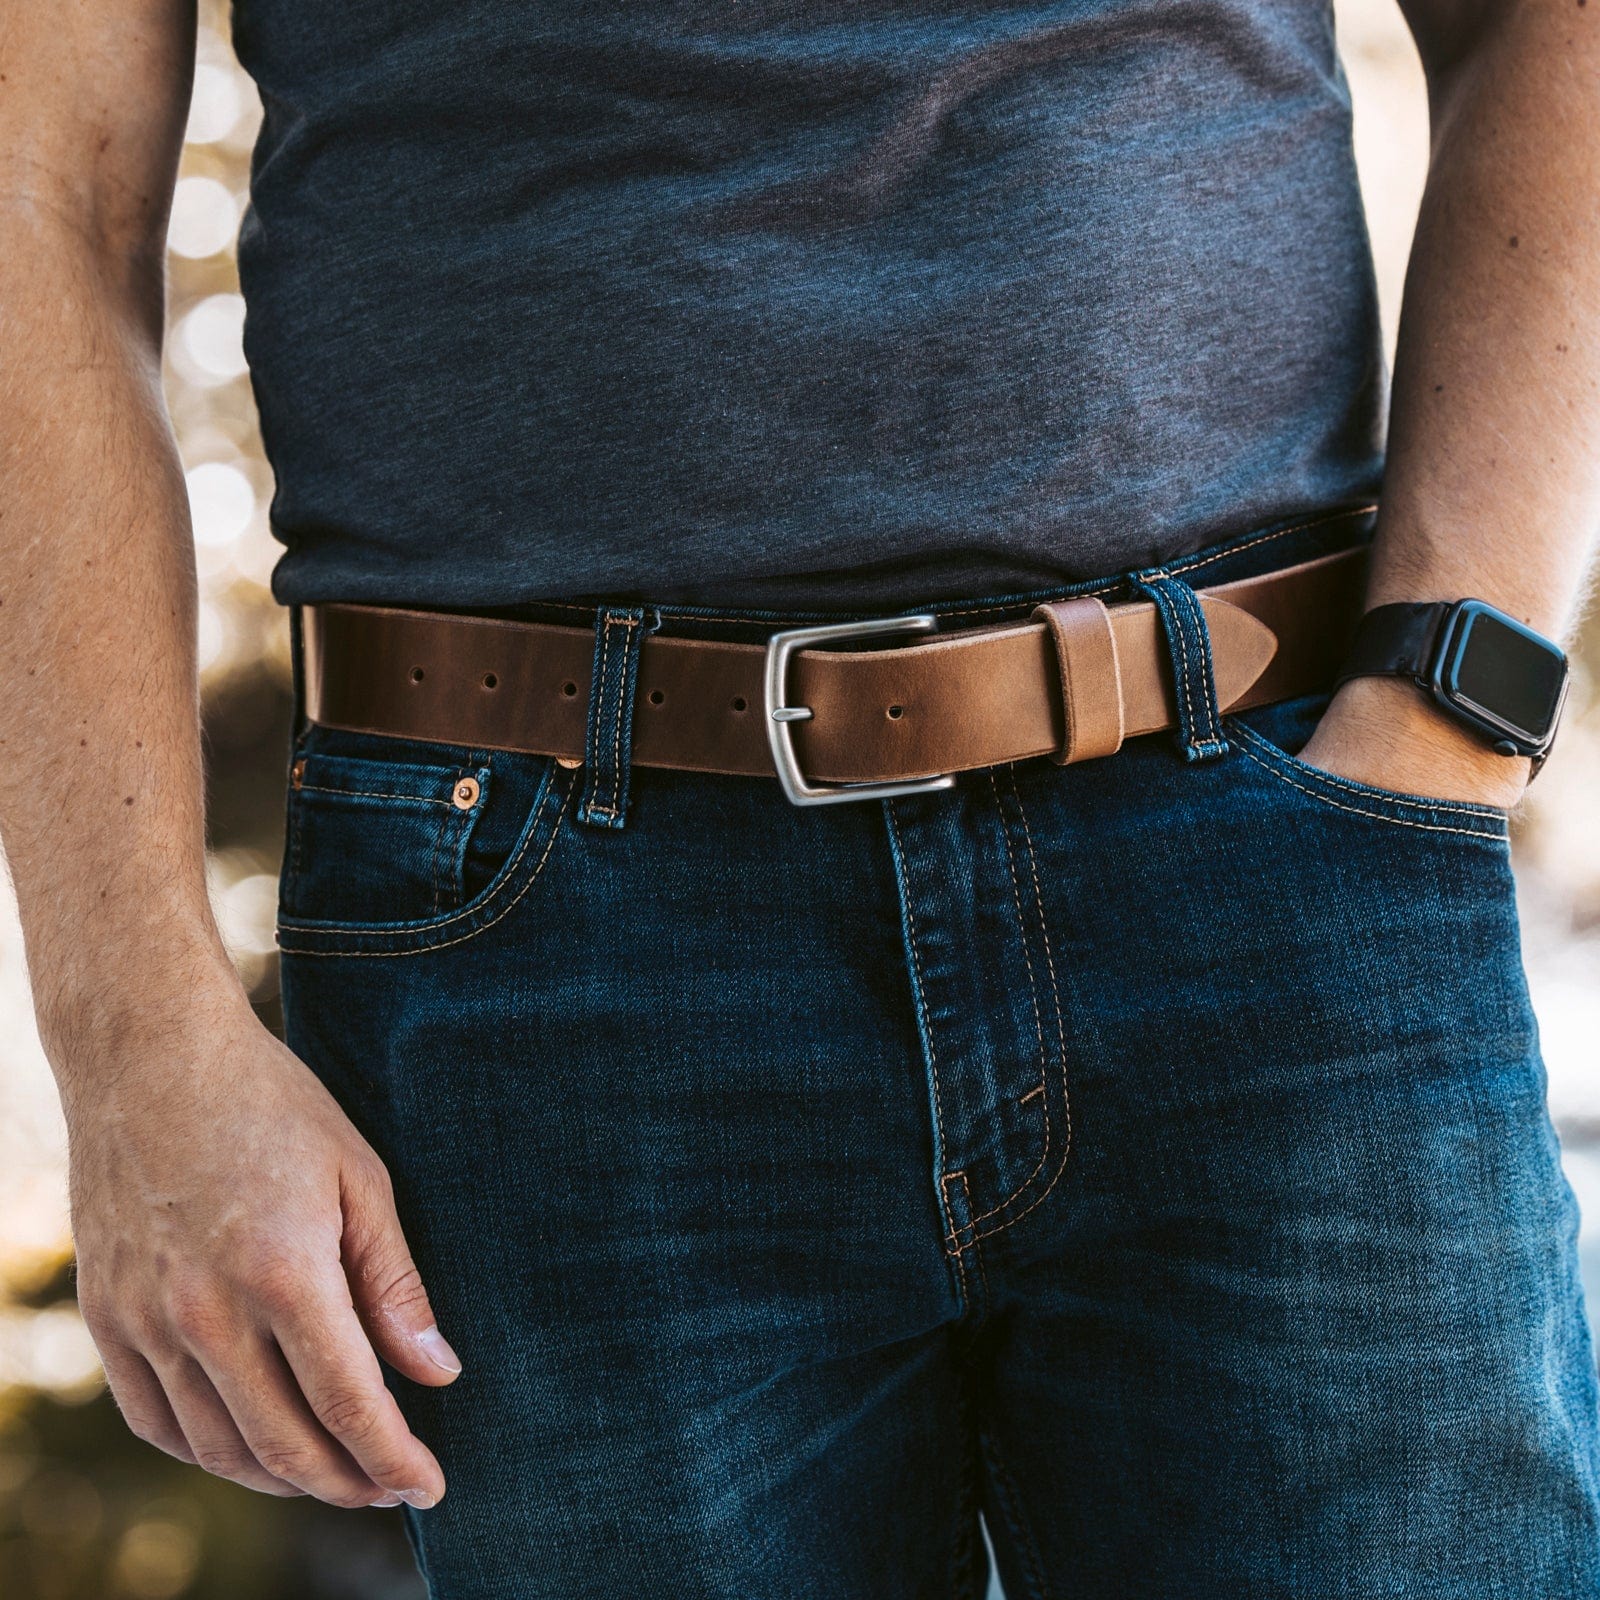
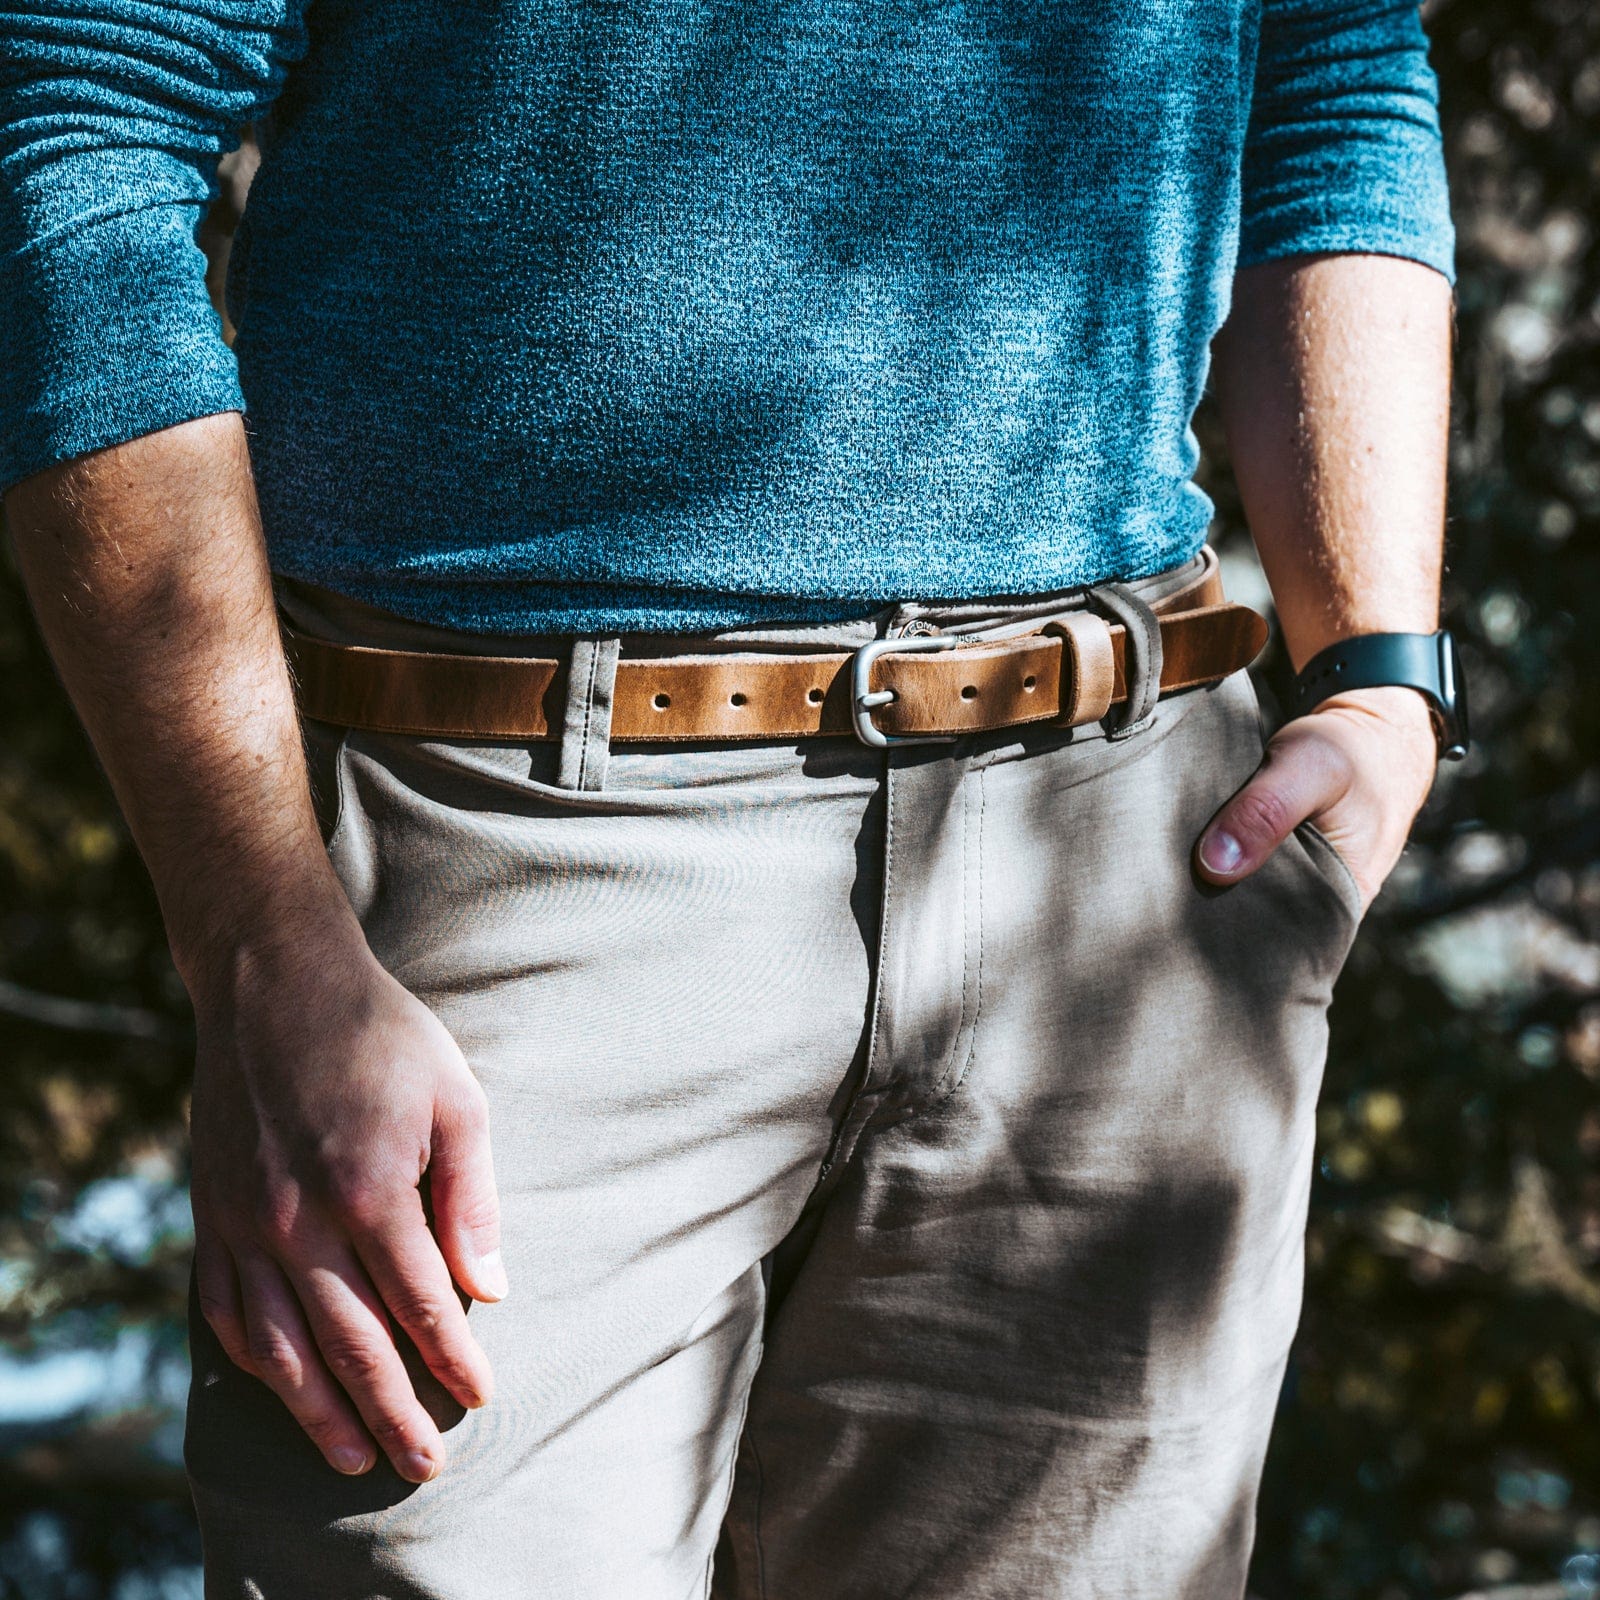
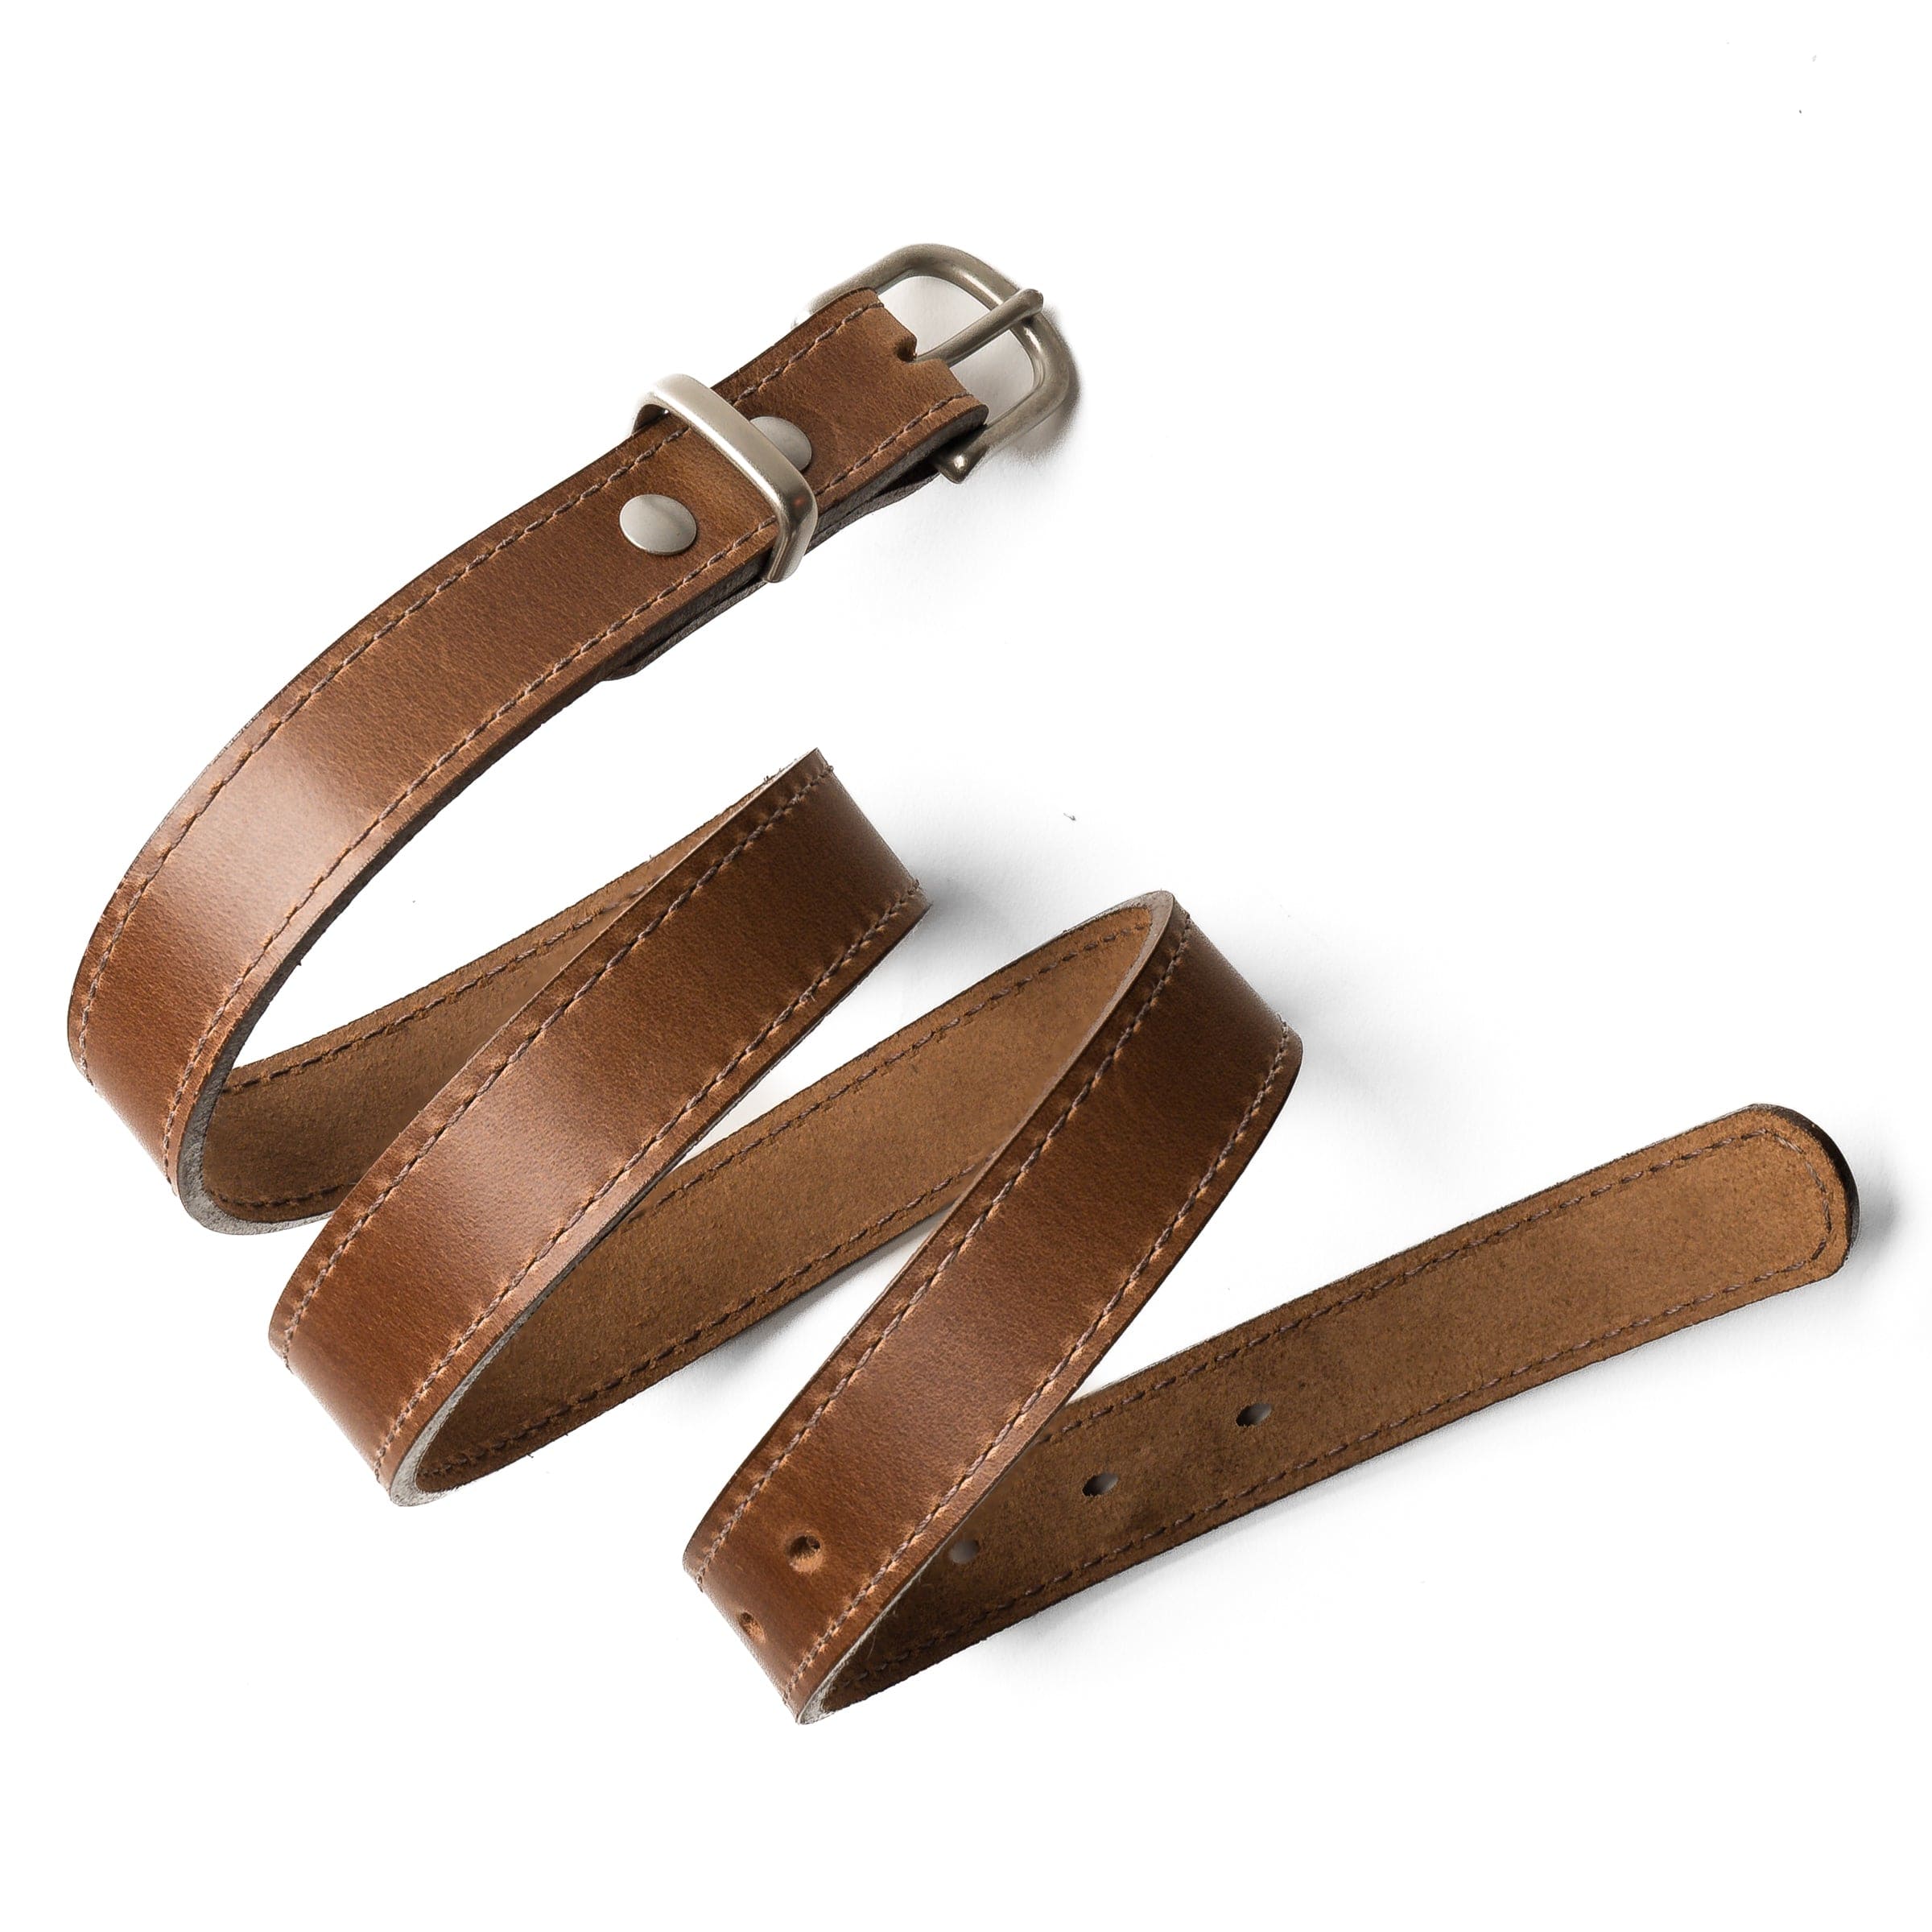
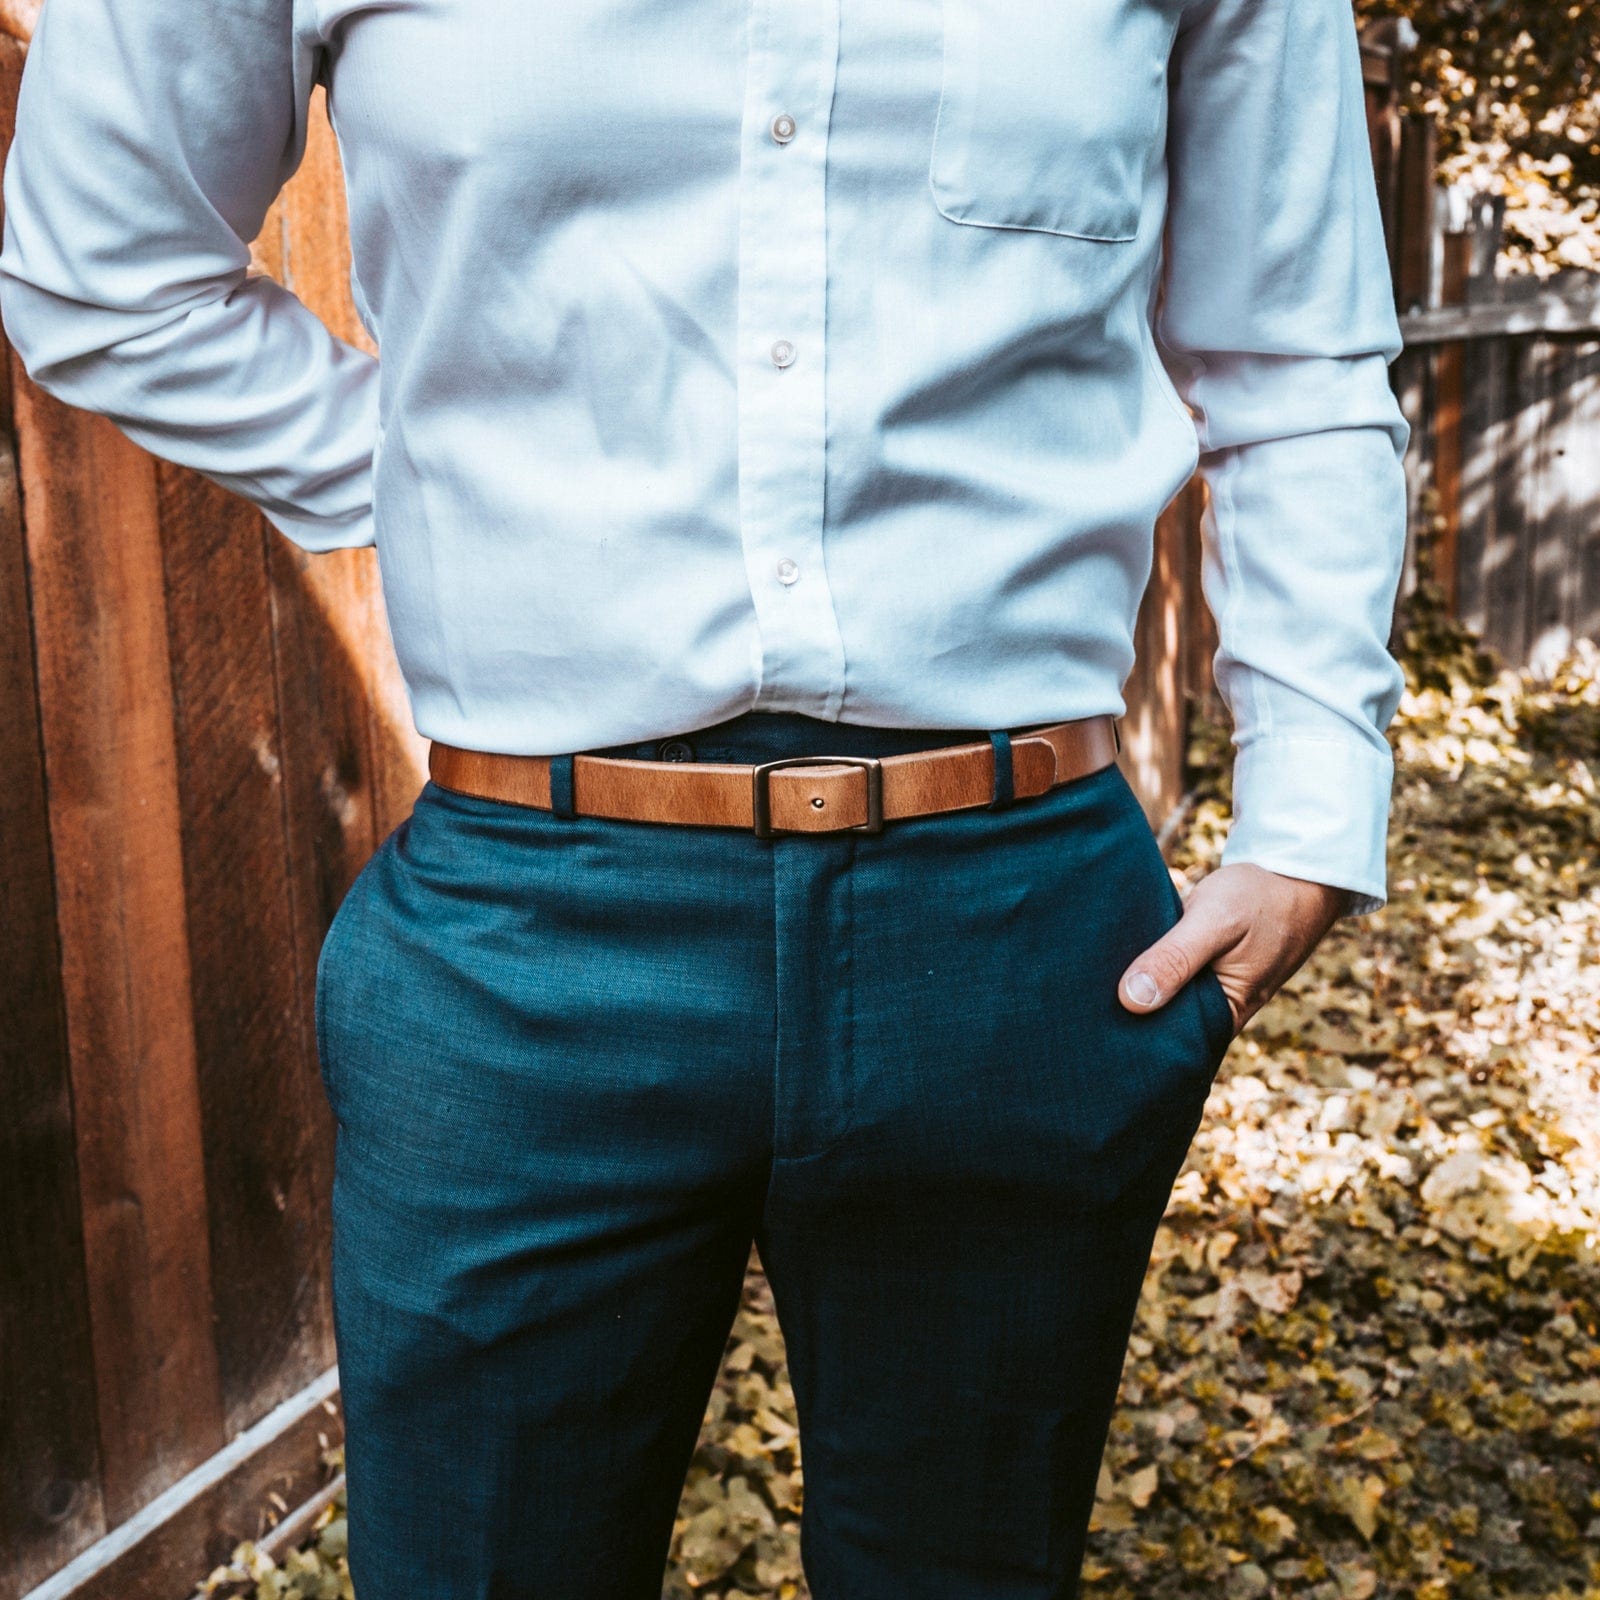
1.5" Width Belts
Our most popular size, fits any pair of jeans or slacks.
Best Seller
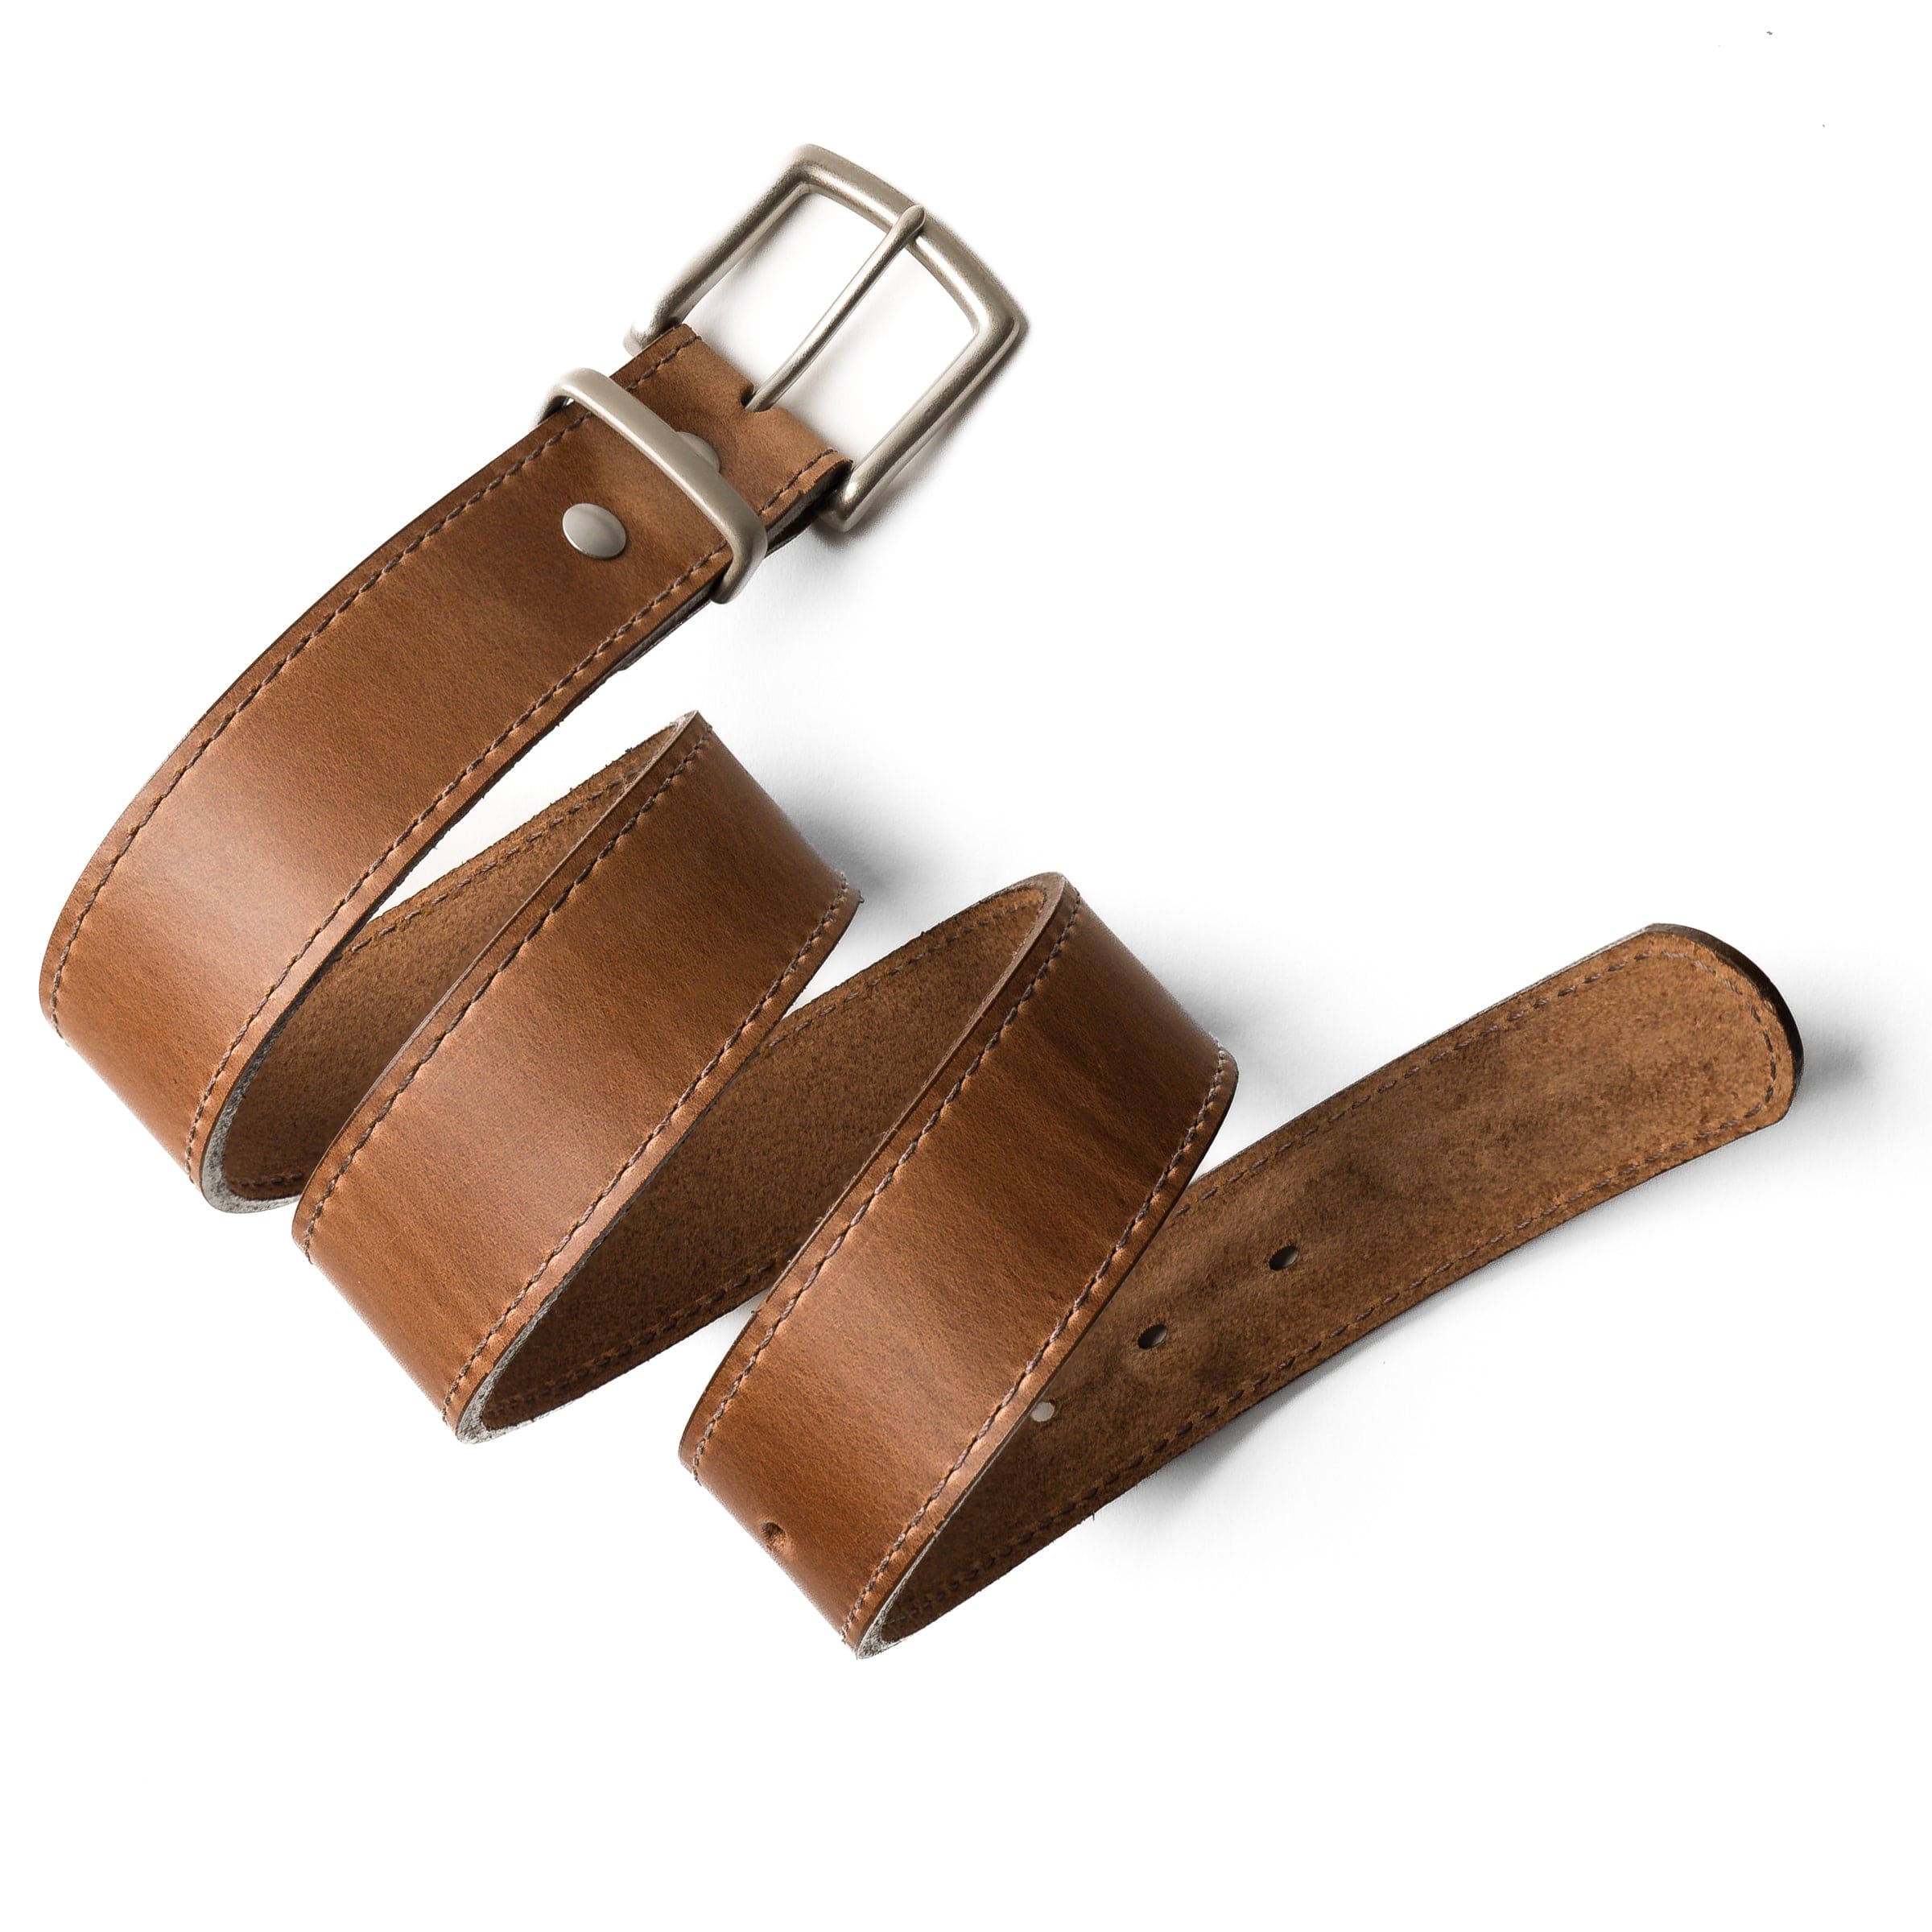

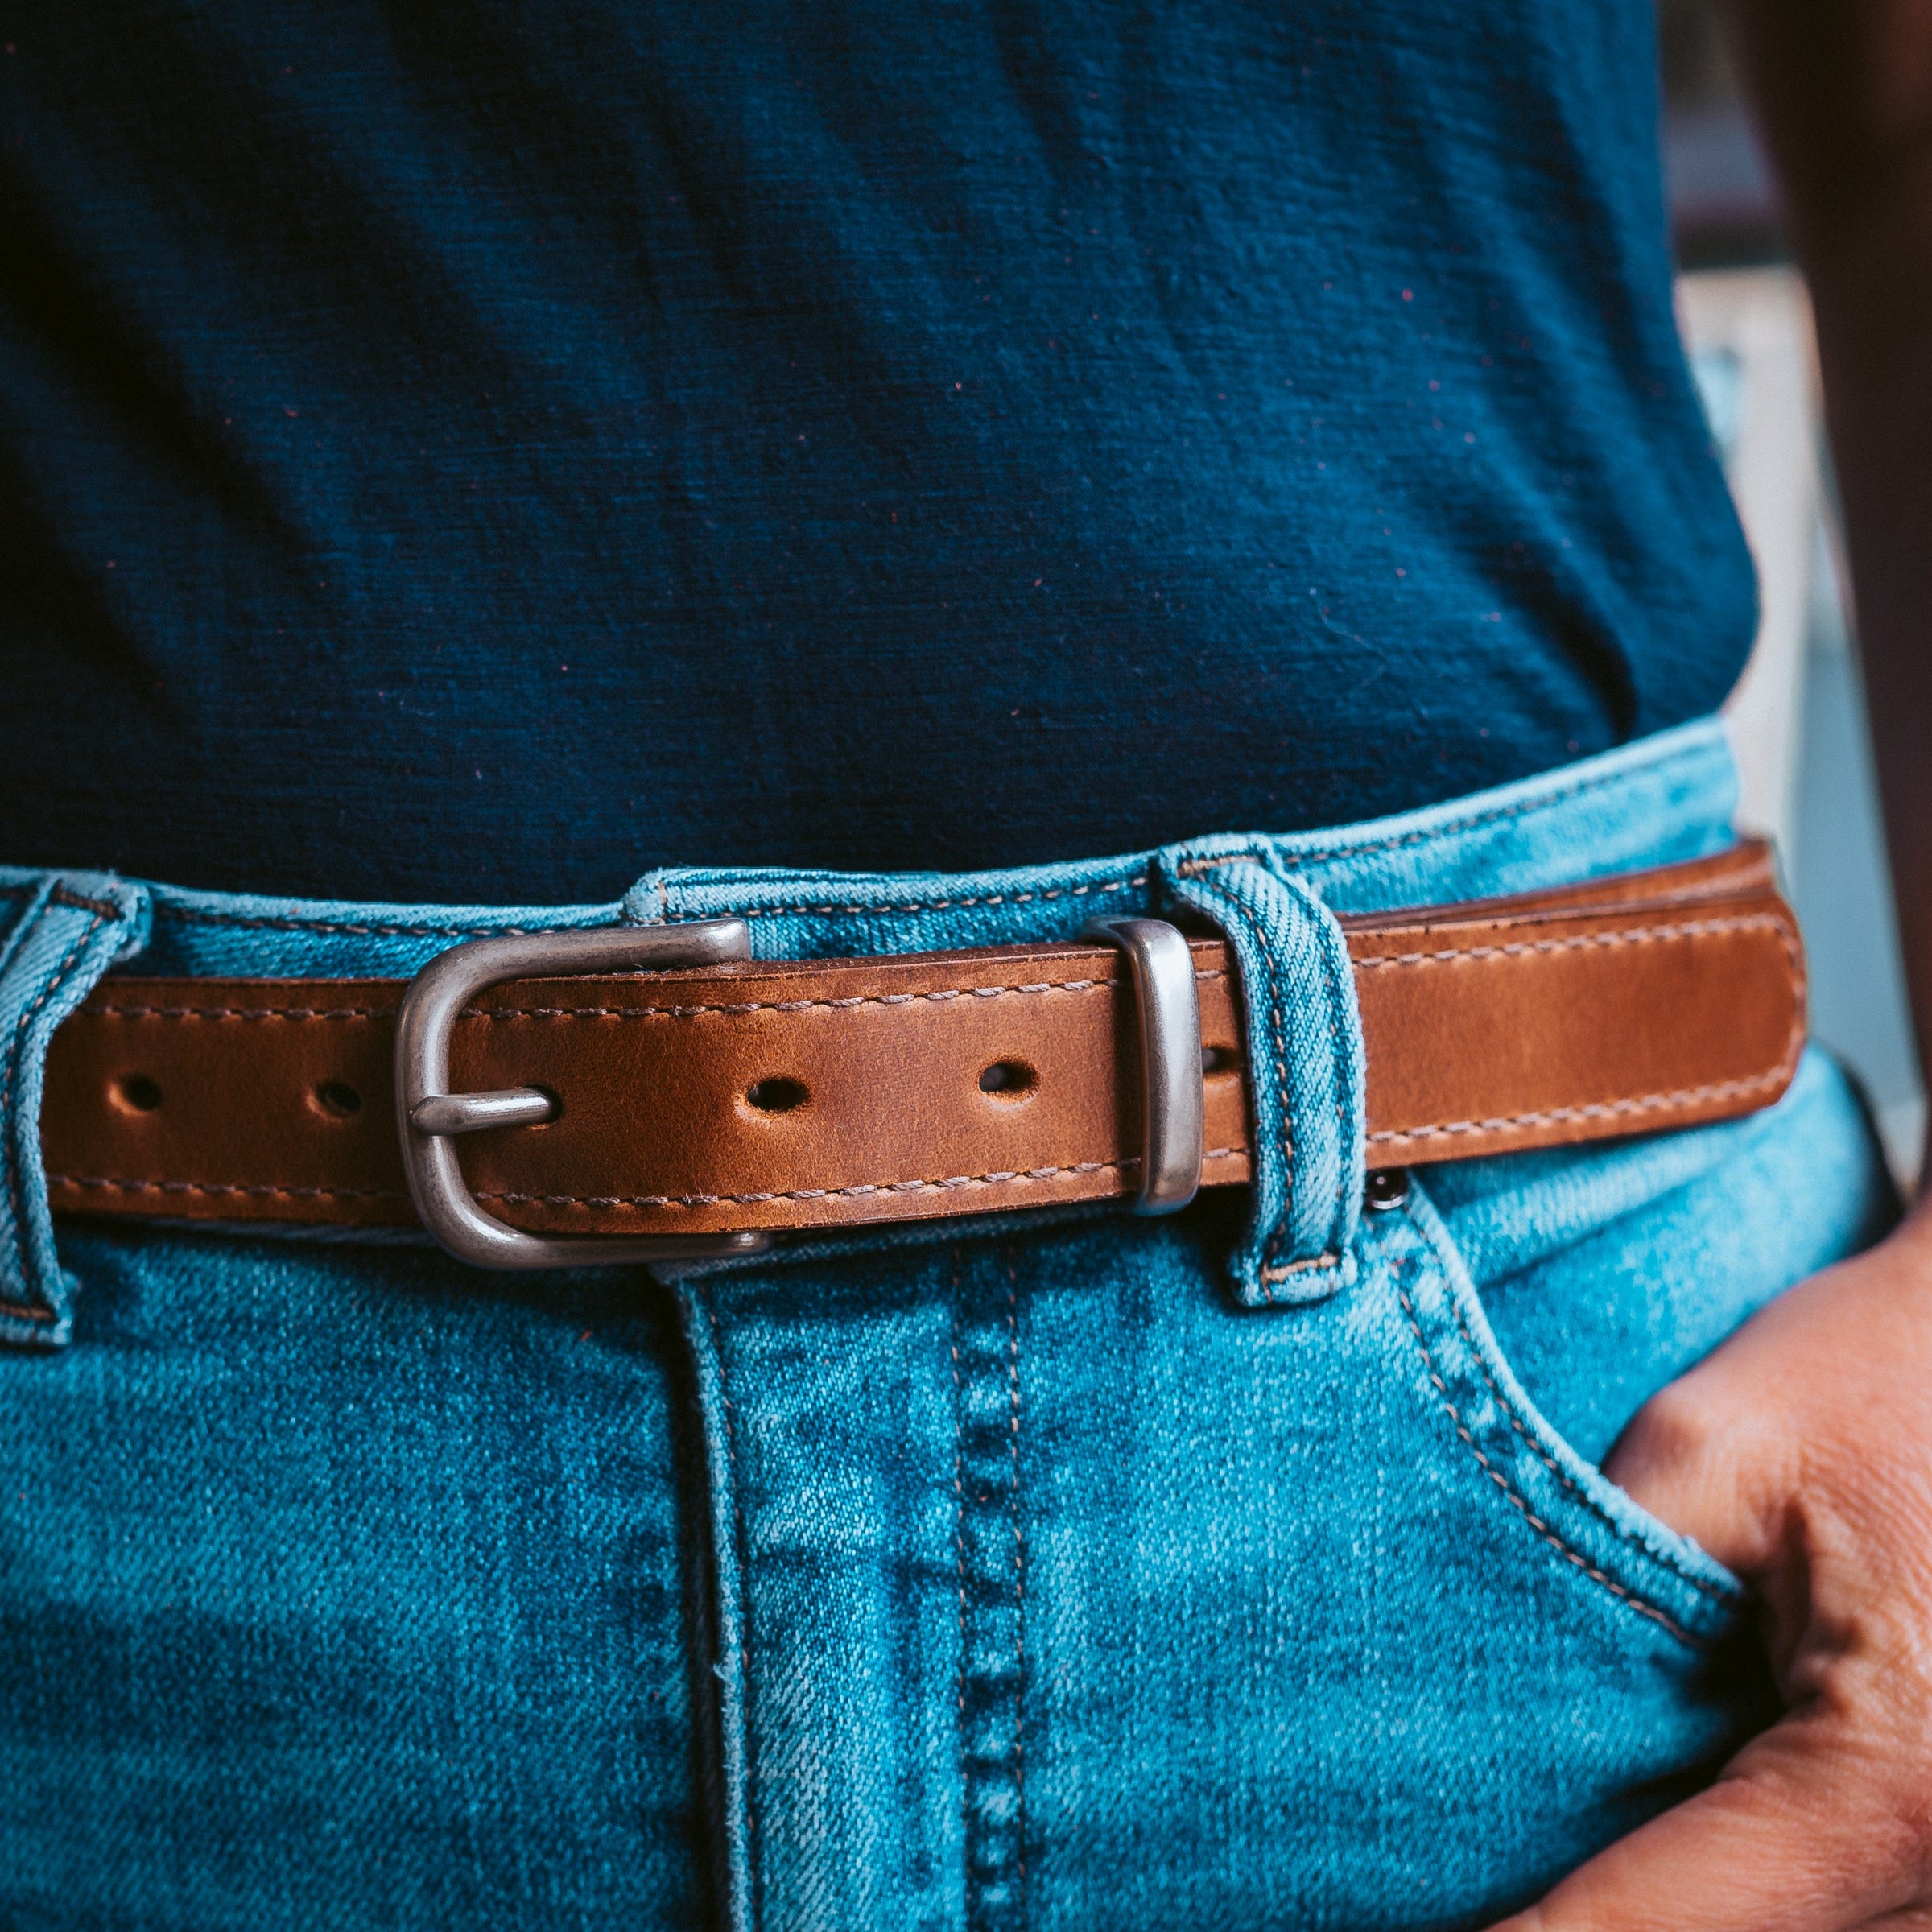
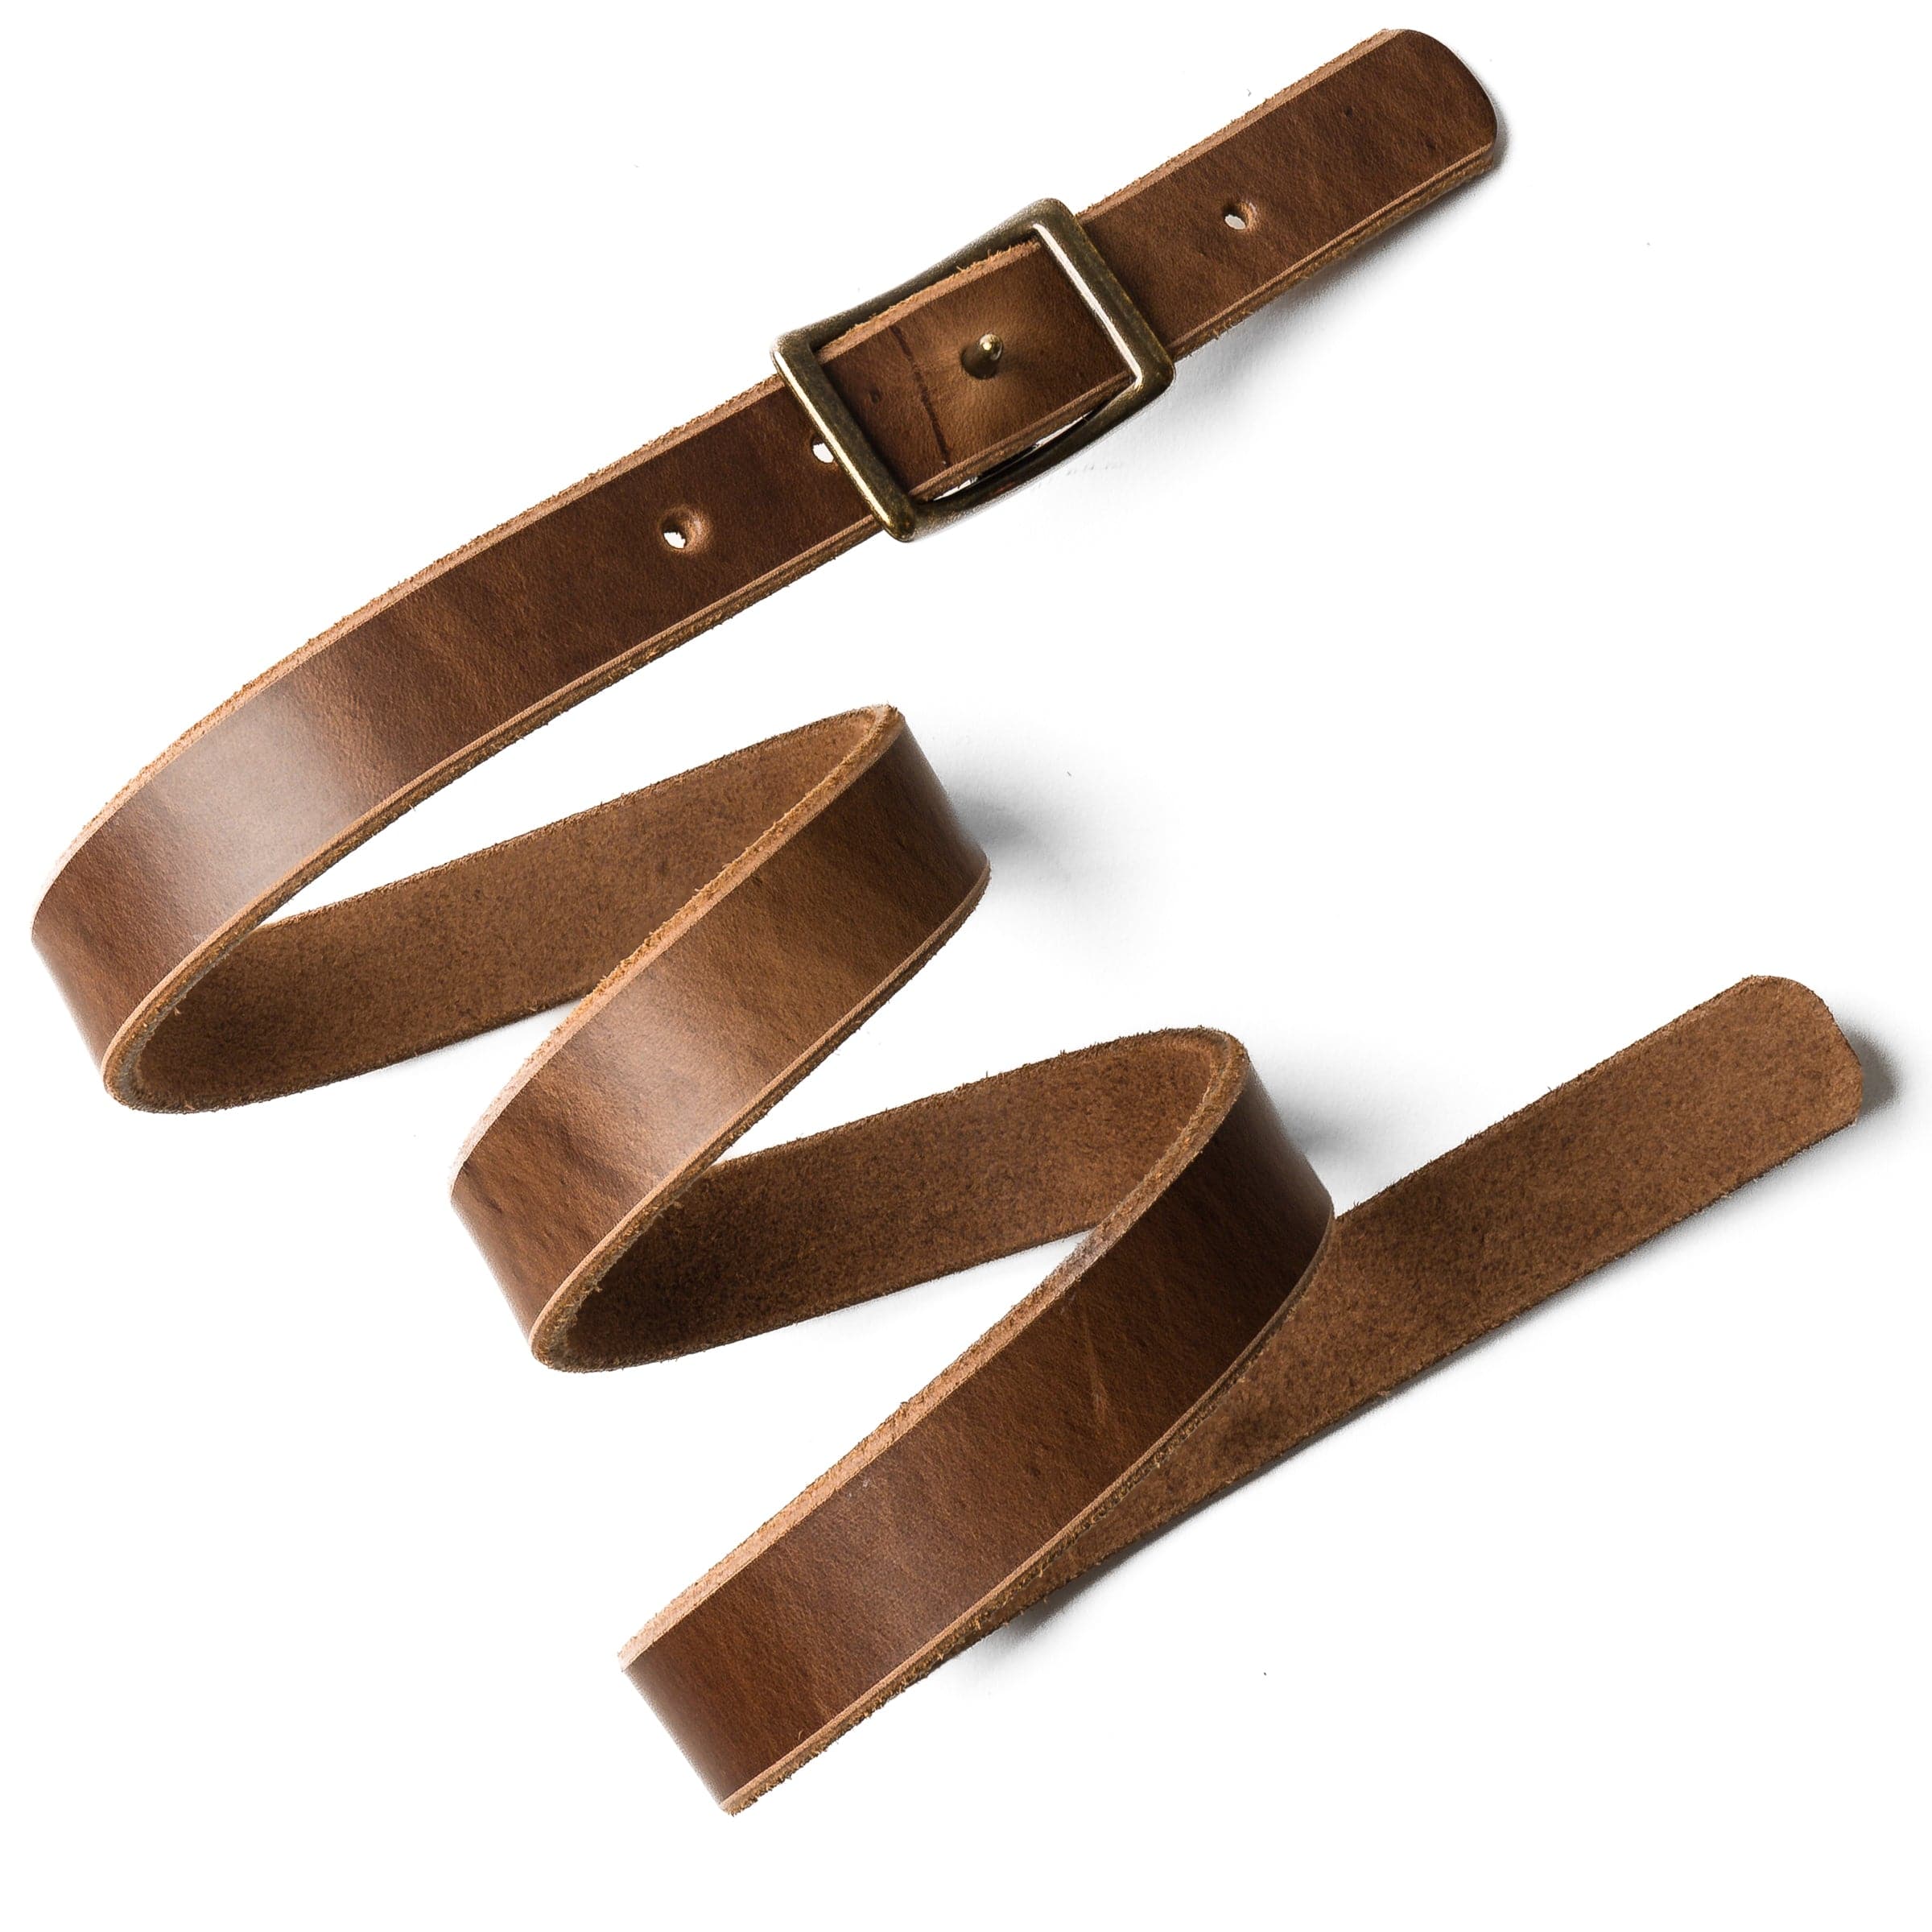
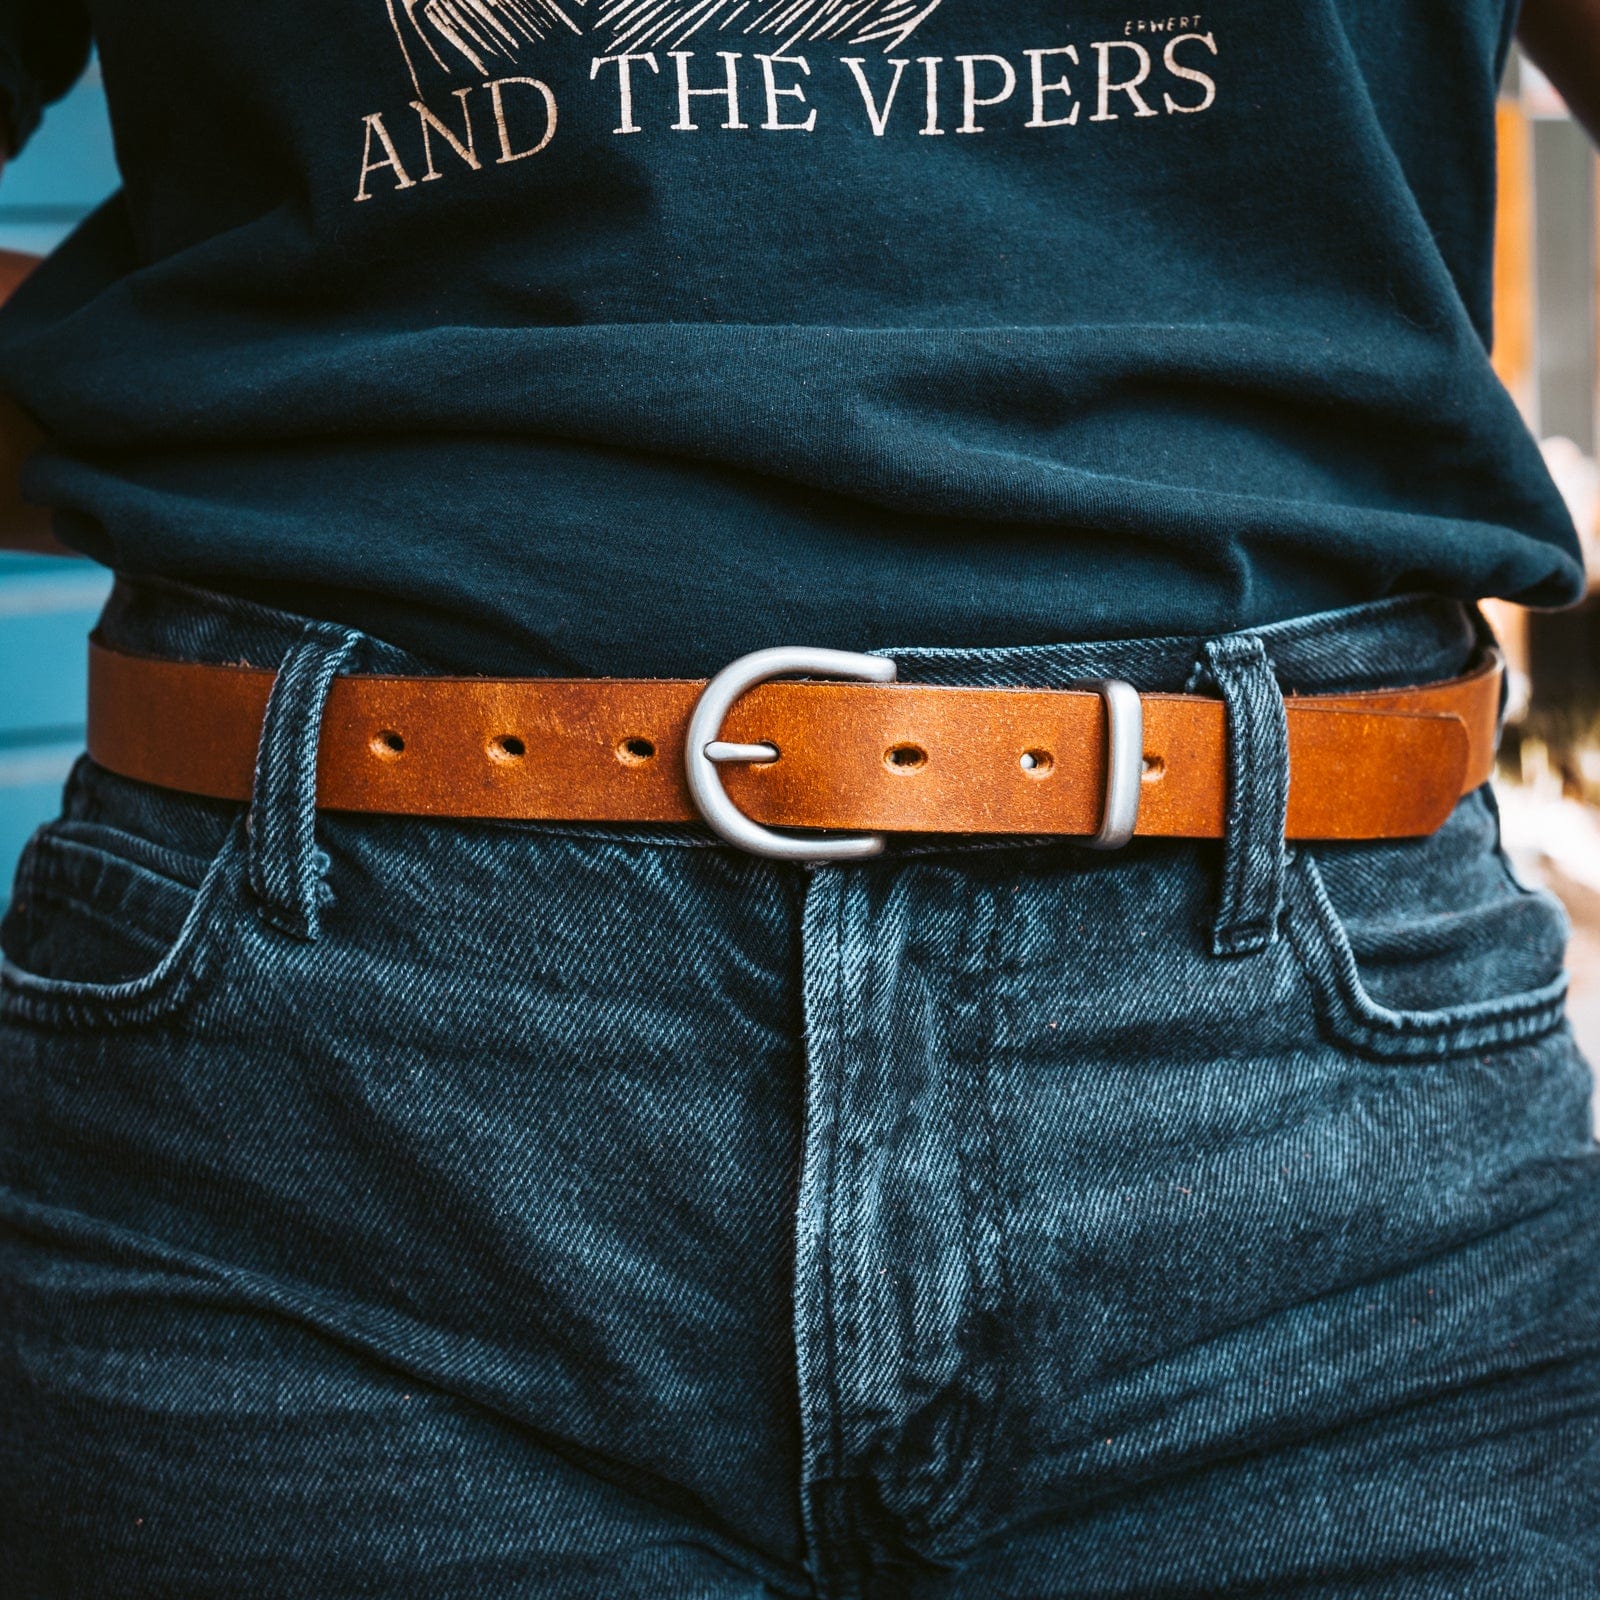
1" Width Belts
Perfectly suited for the office or a sophisticated evening out, this belt also pairs effortlessly with shorts for a refined casual look.
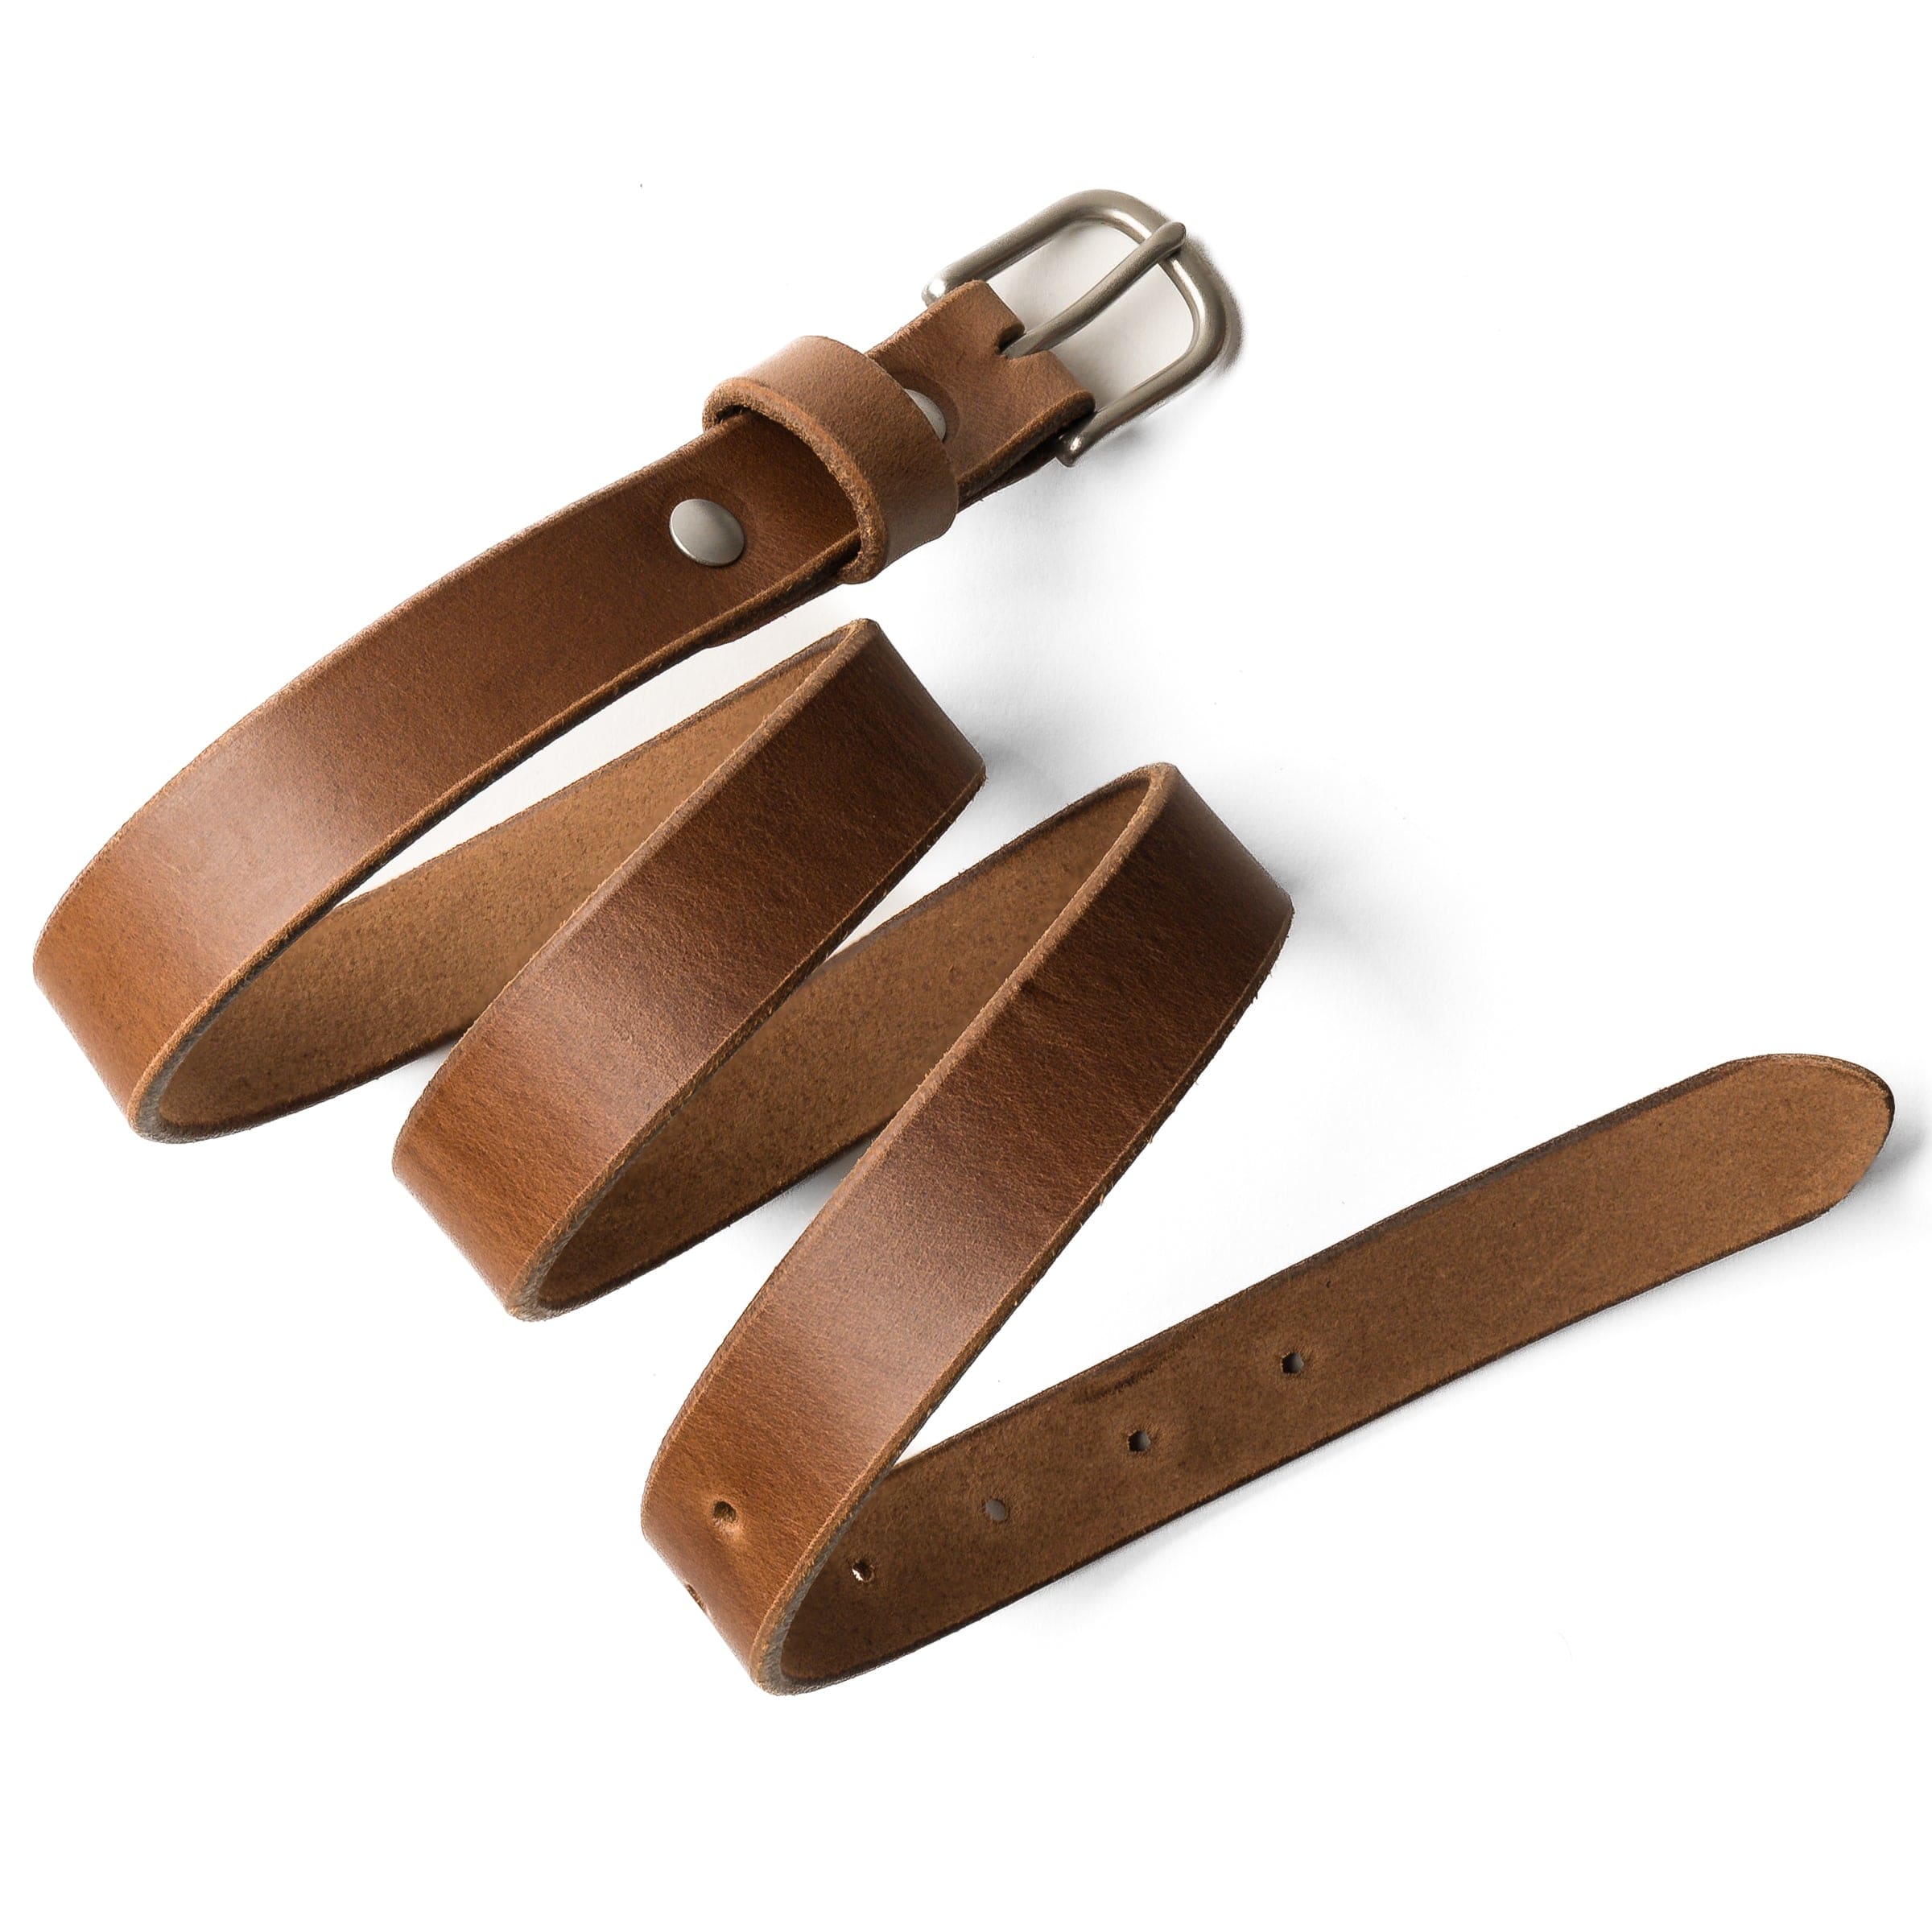
Women's Belts
This belt works just as well with a blazer and trousers as it does with a sundress or your go-to jeans.


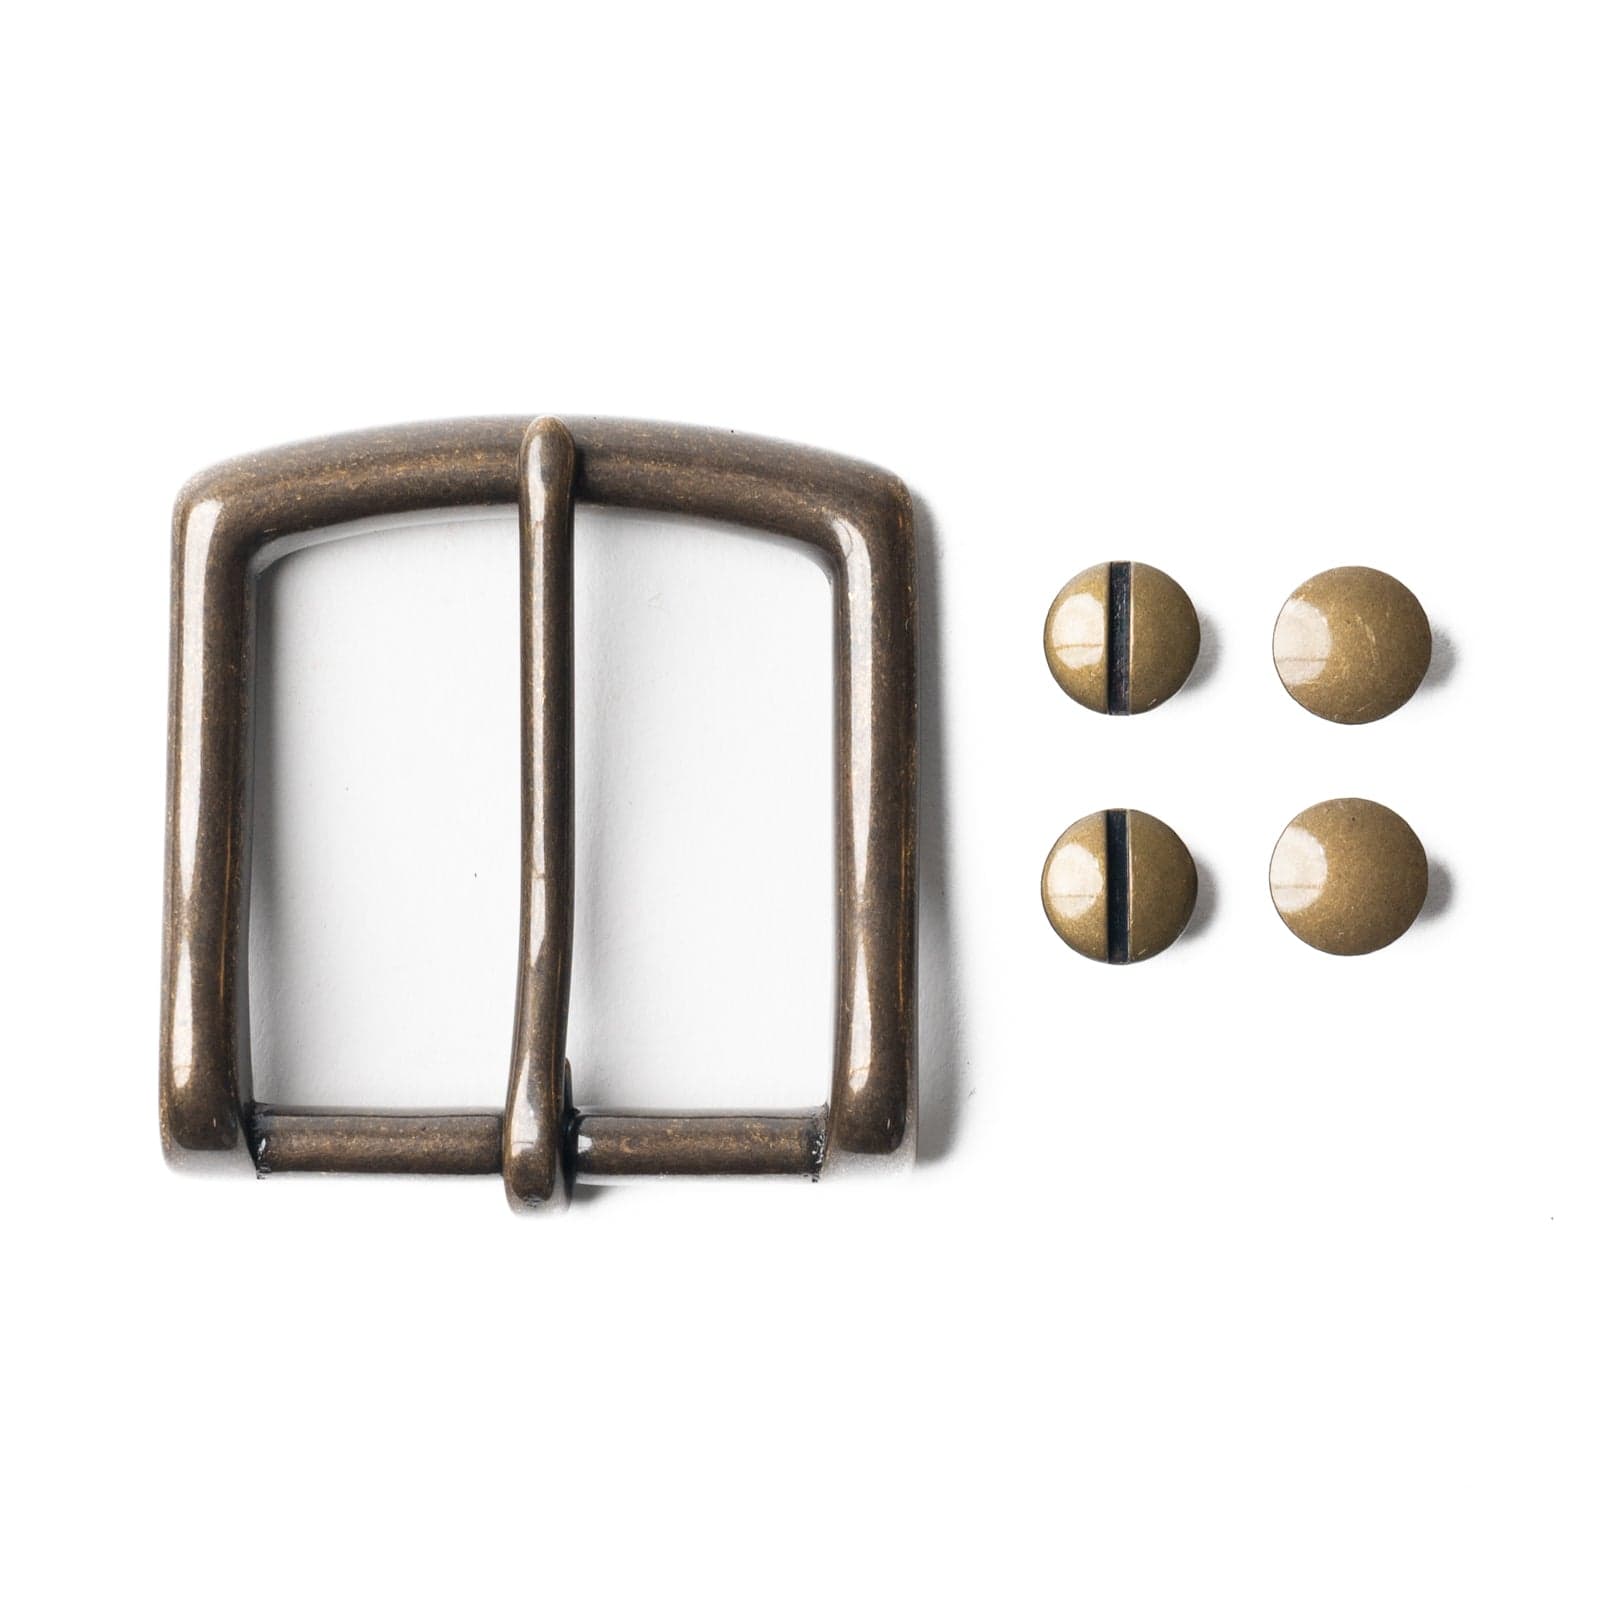
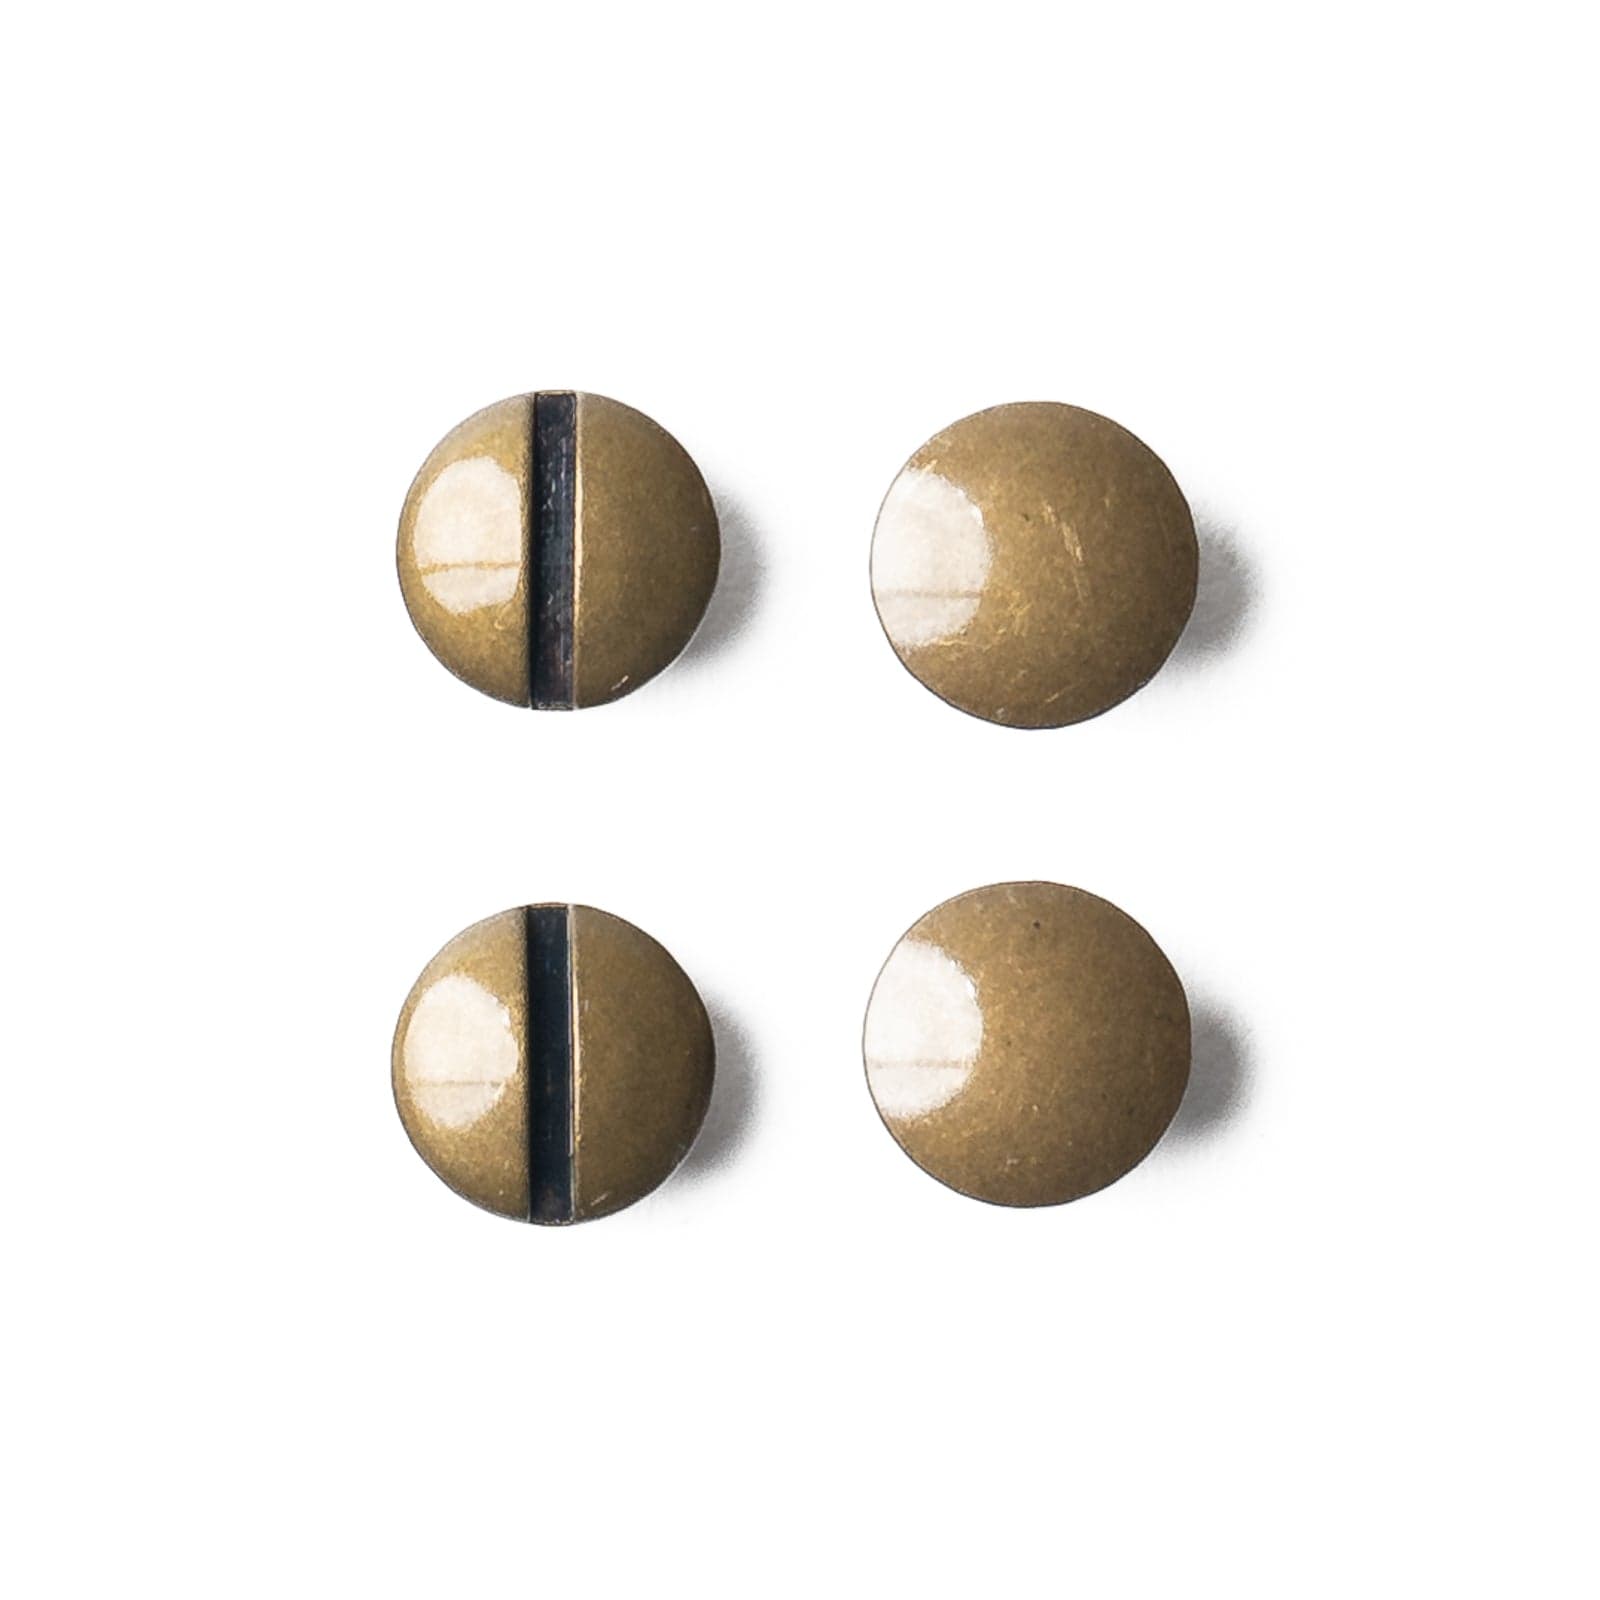
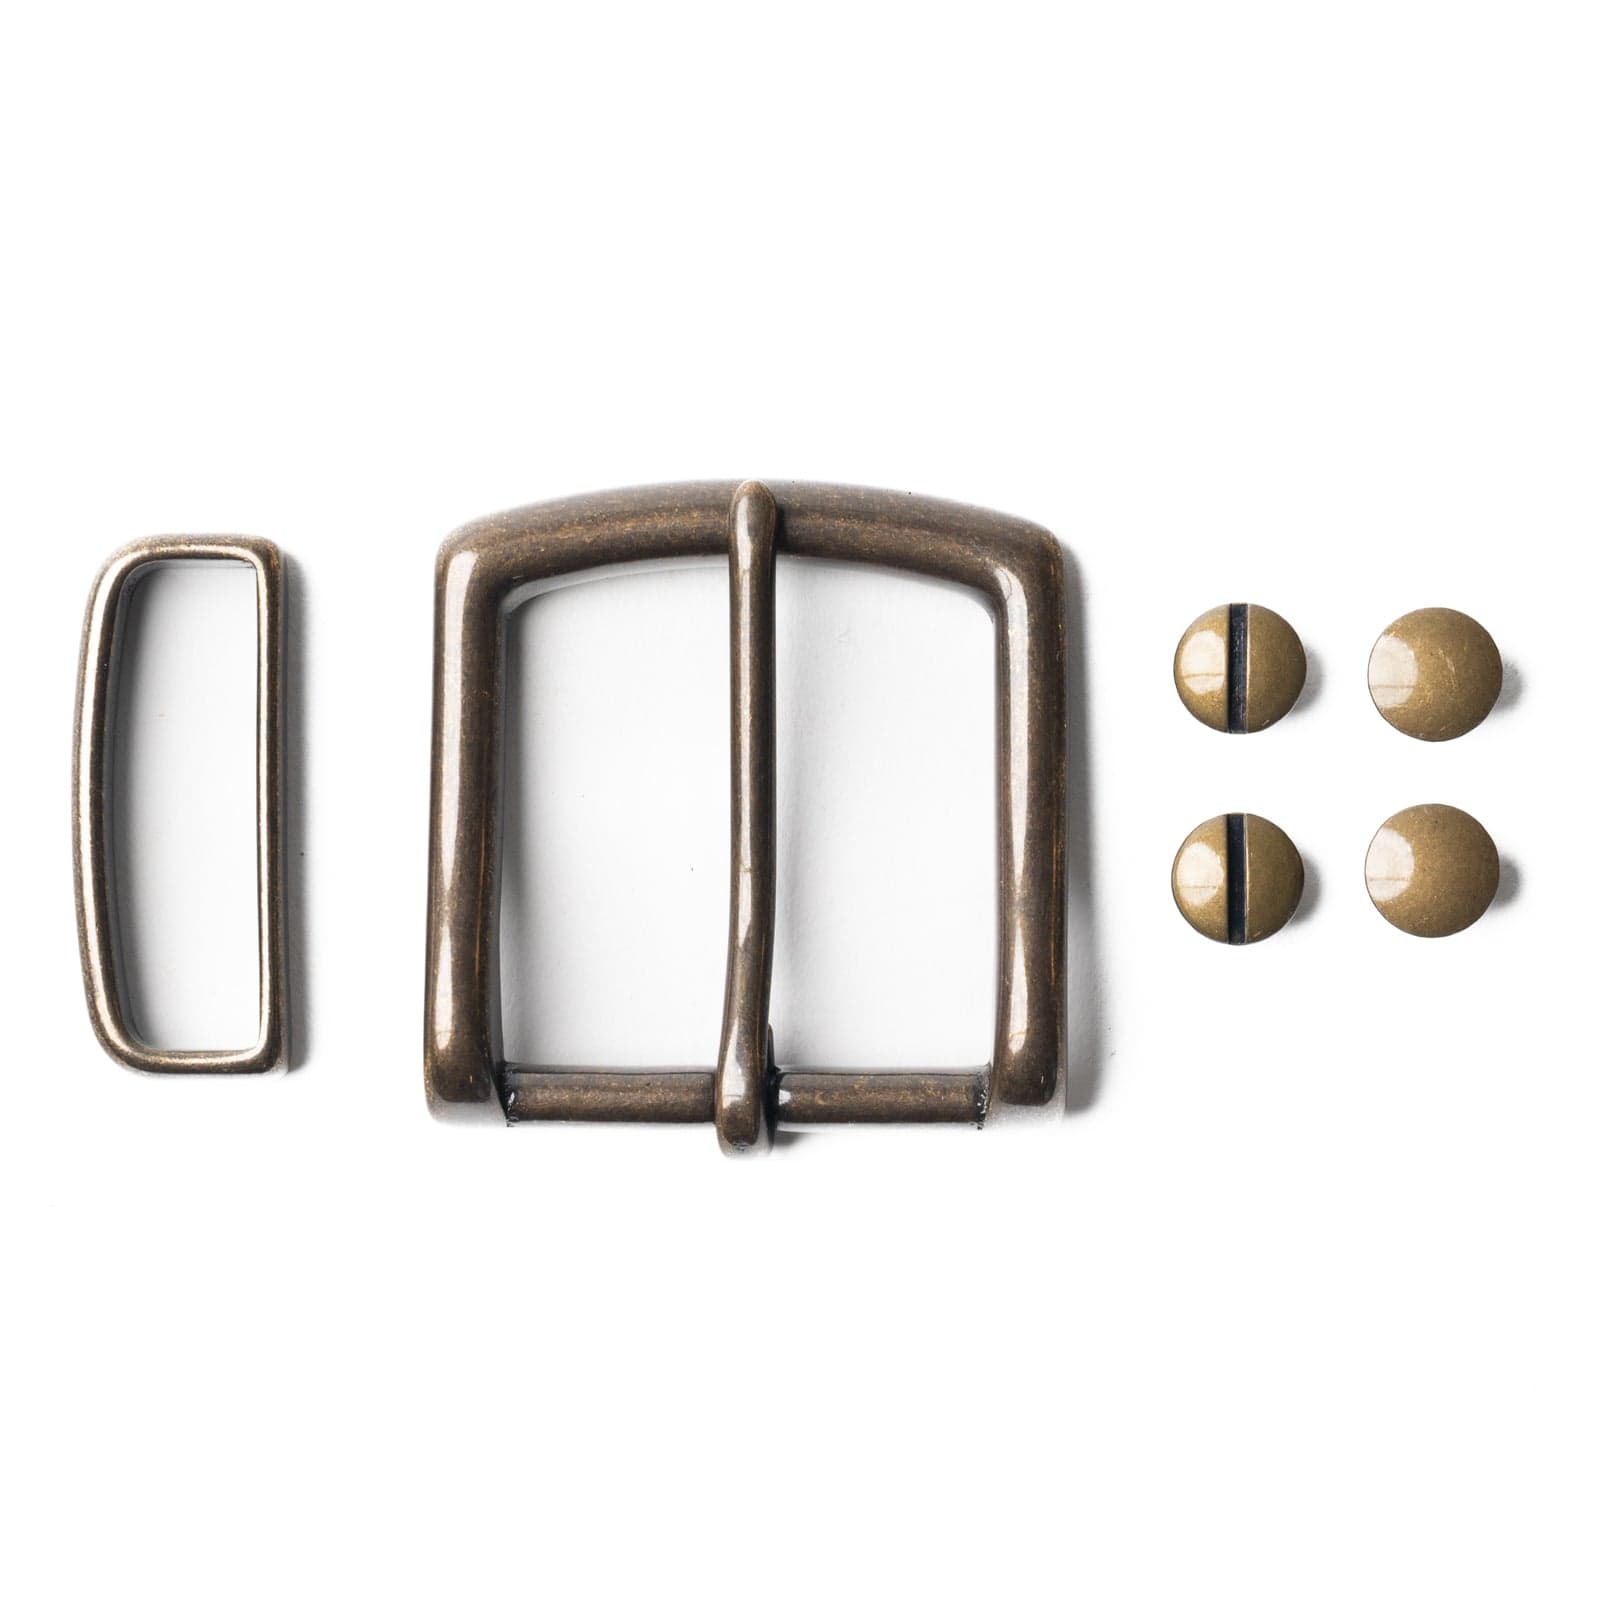
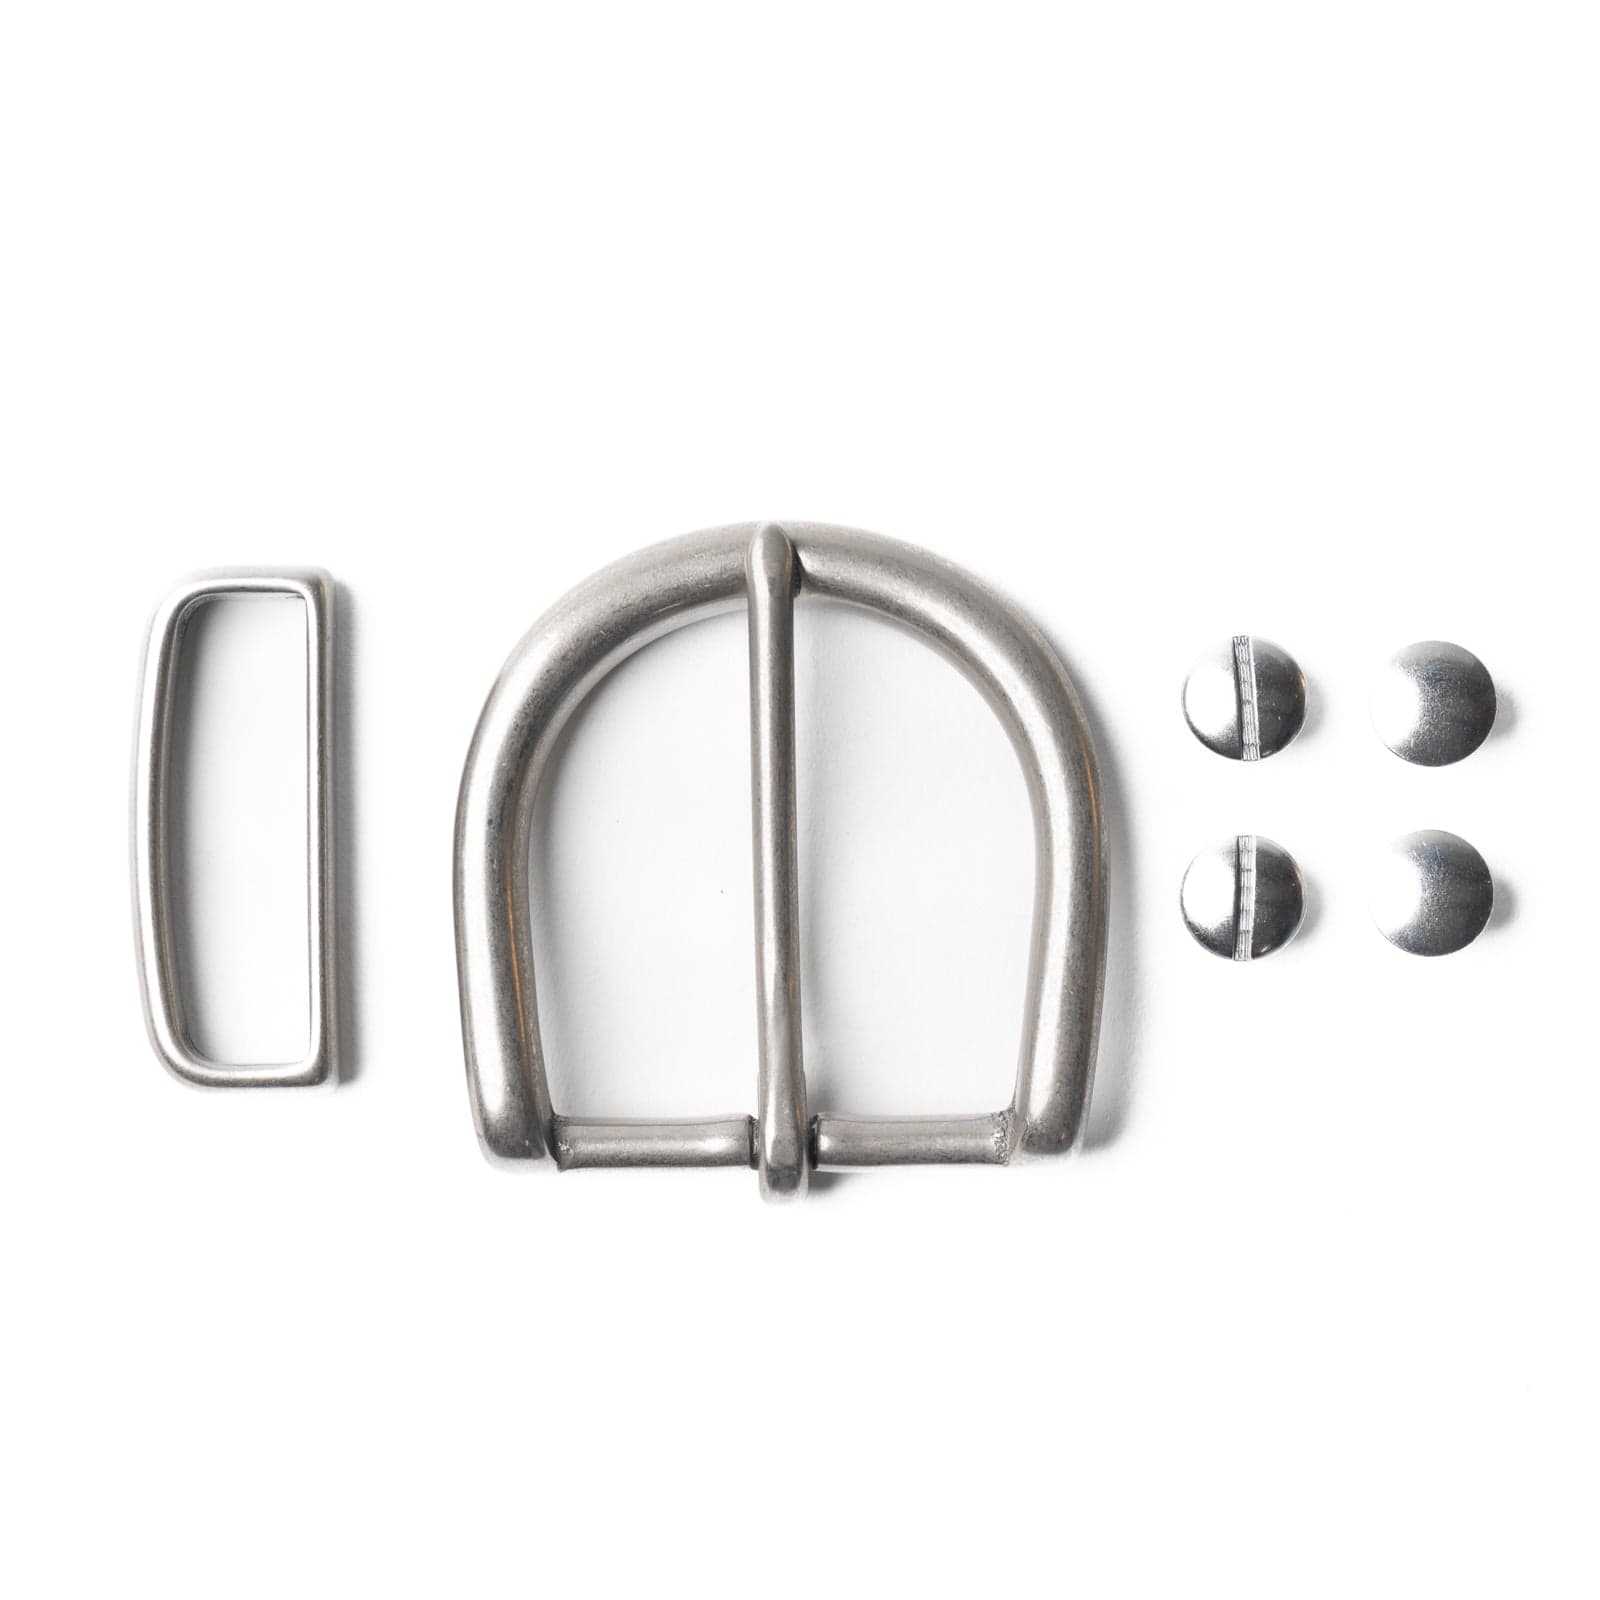
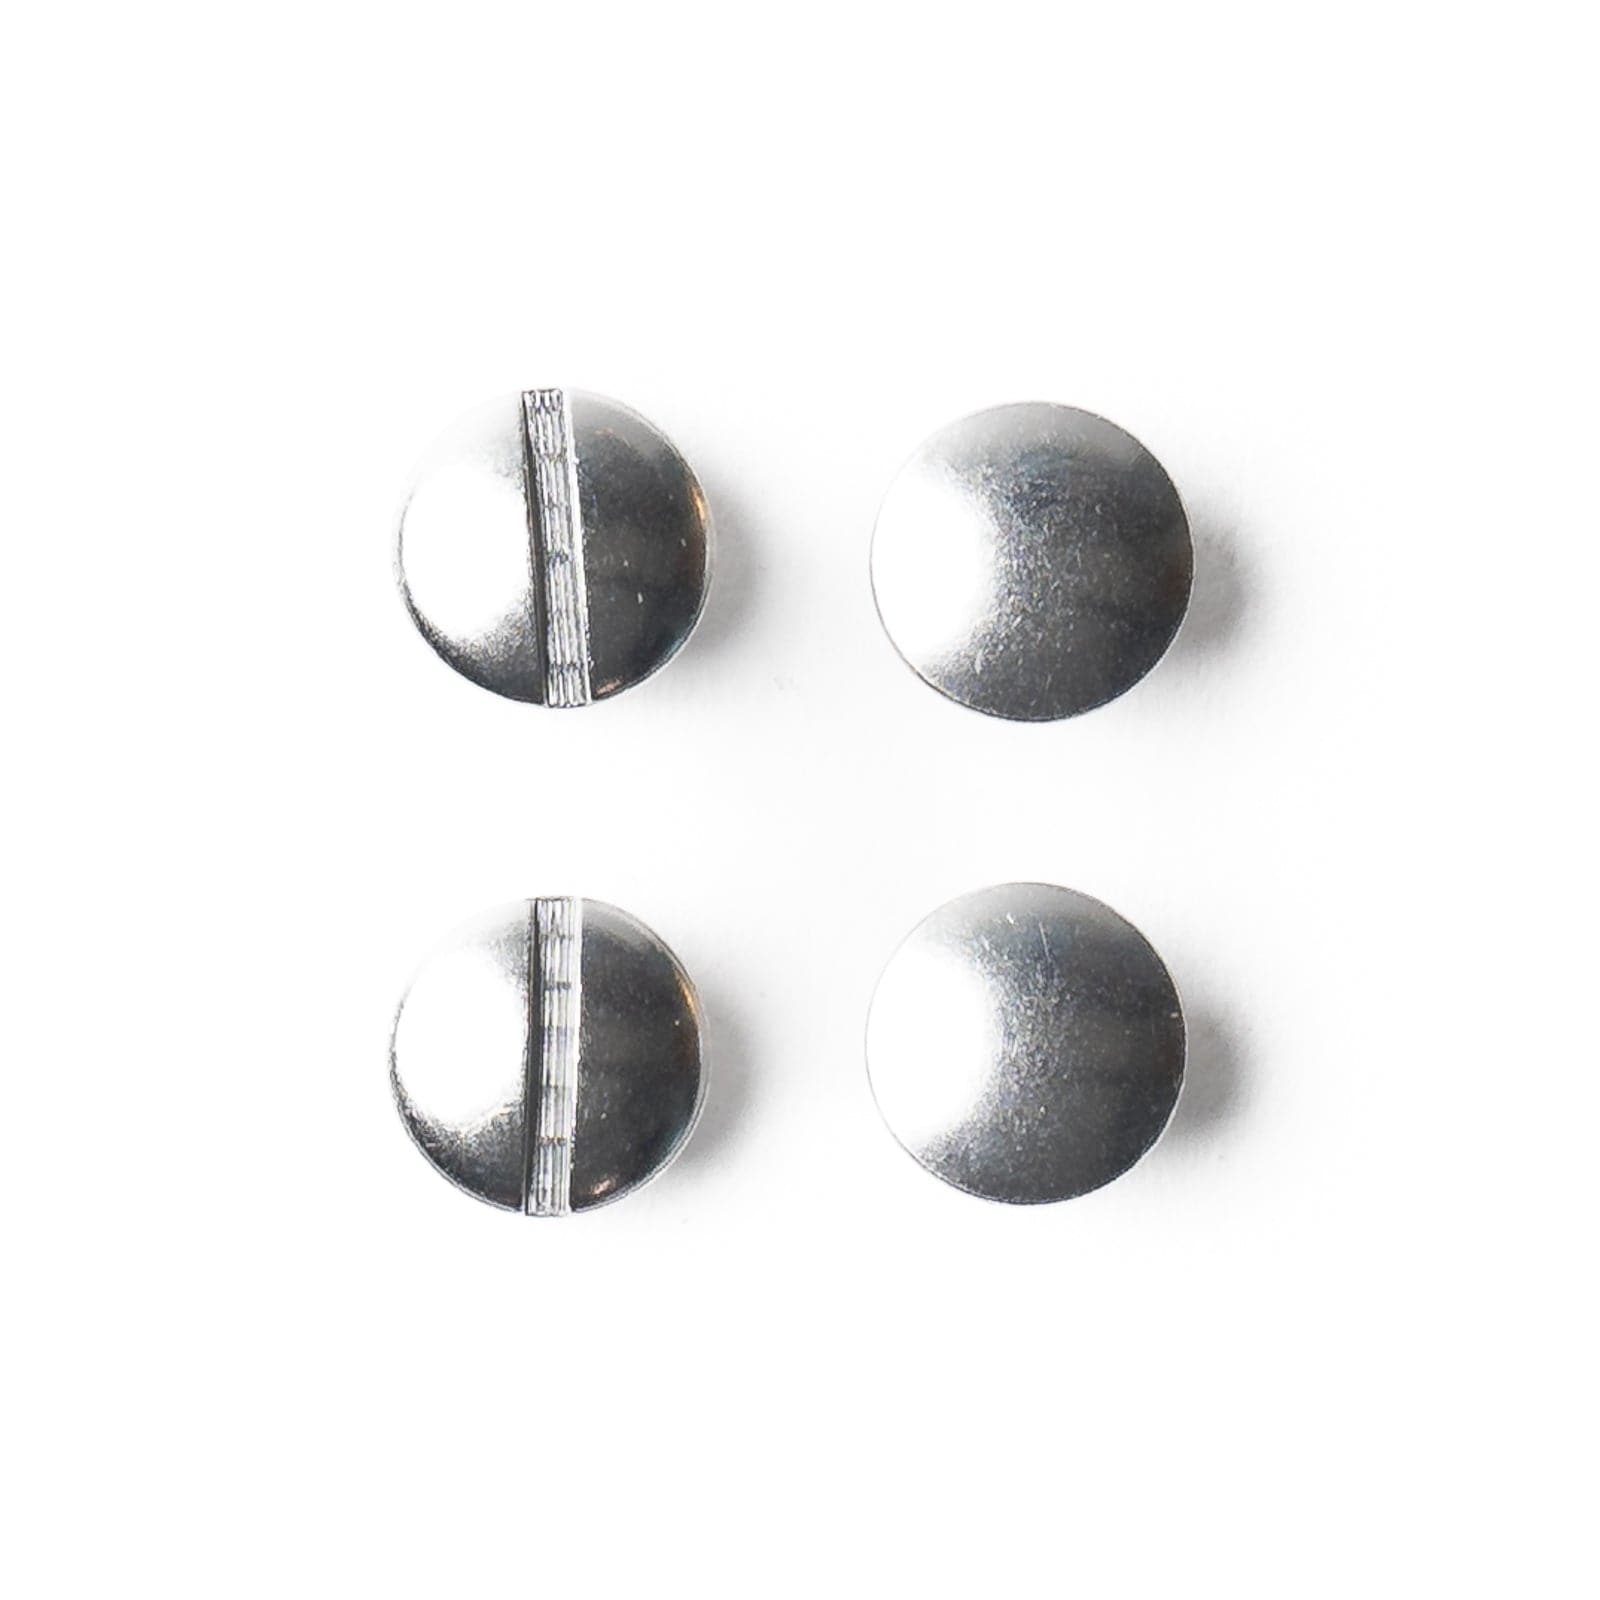
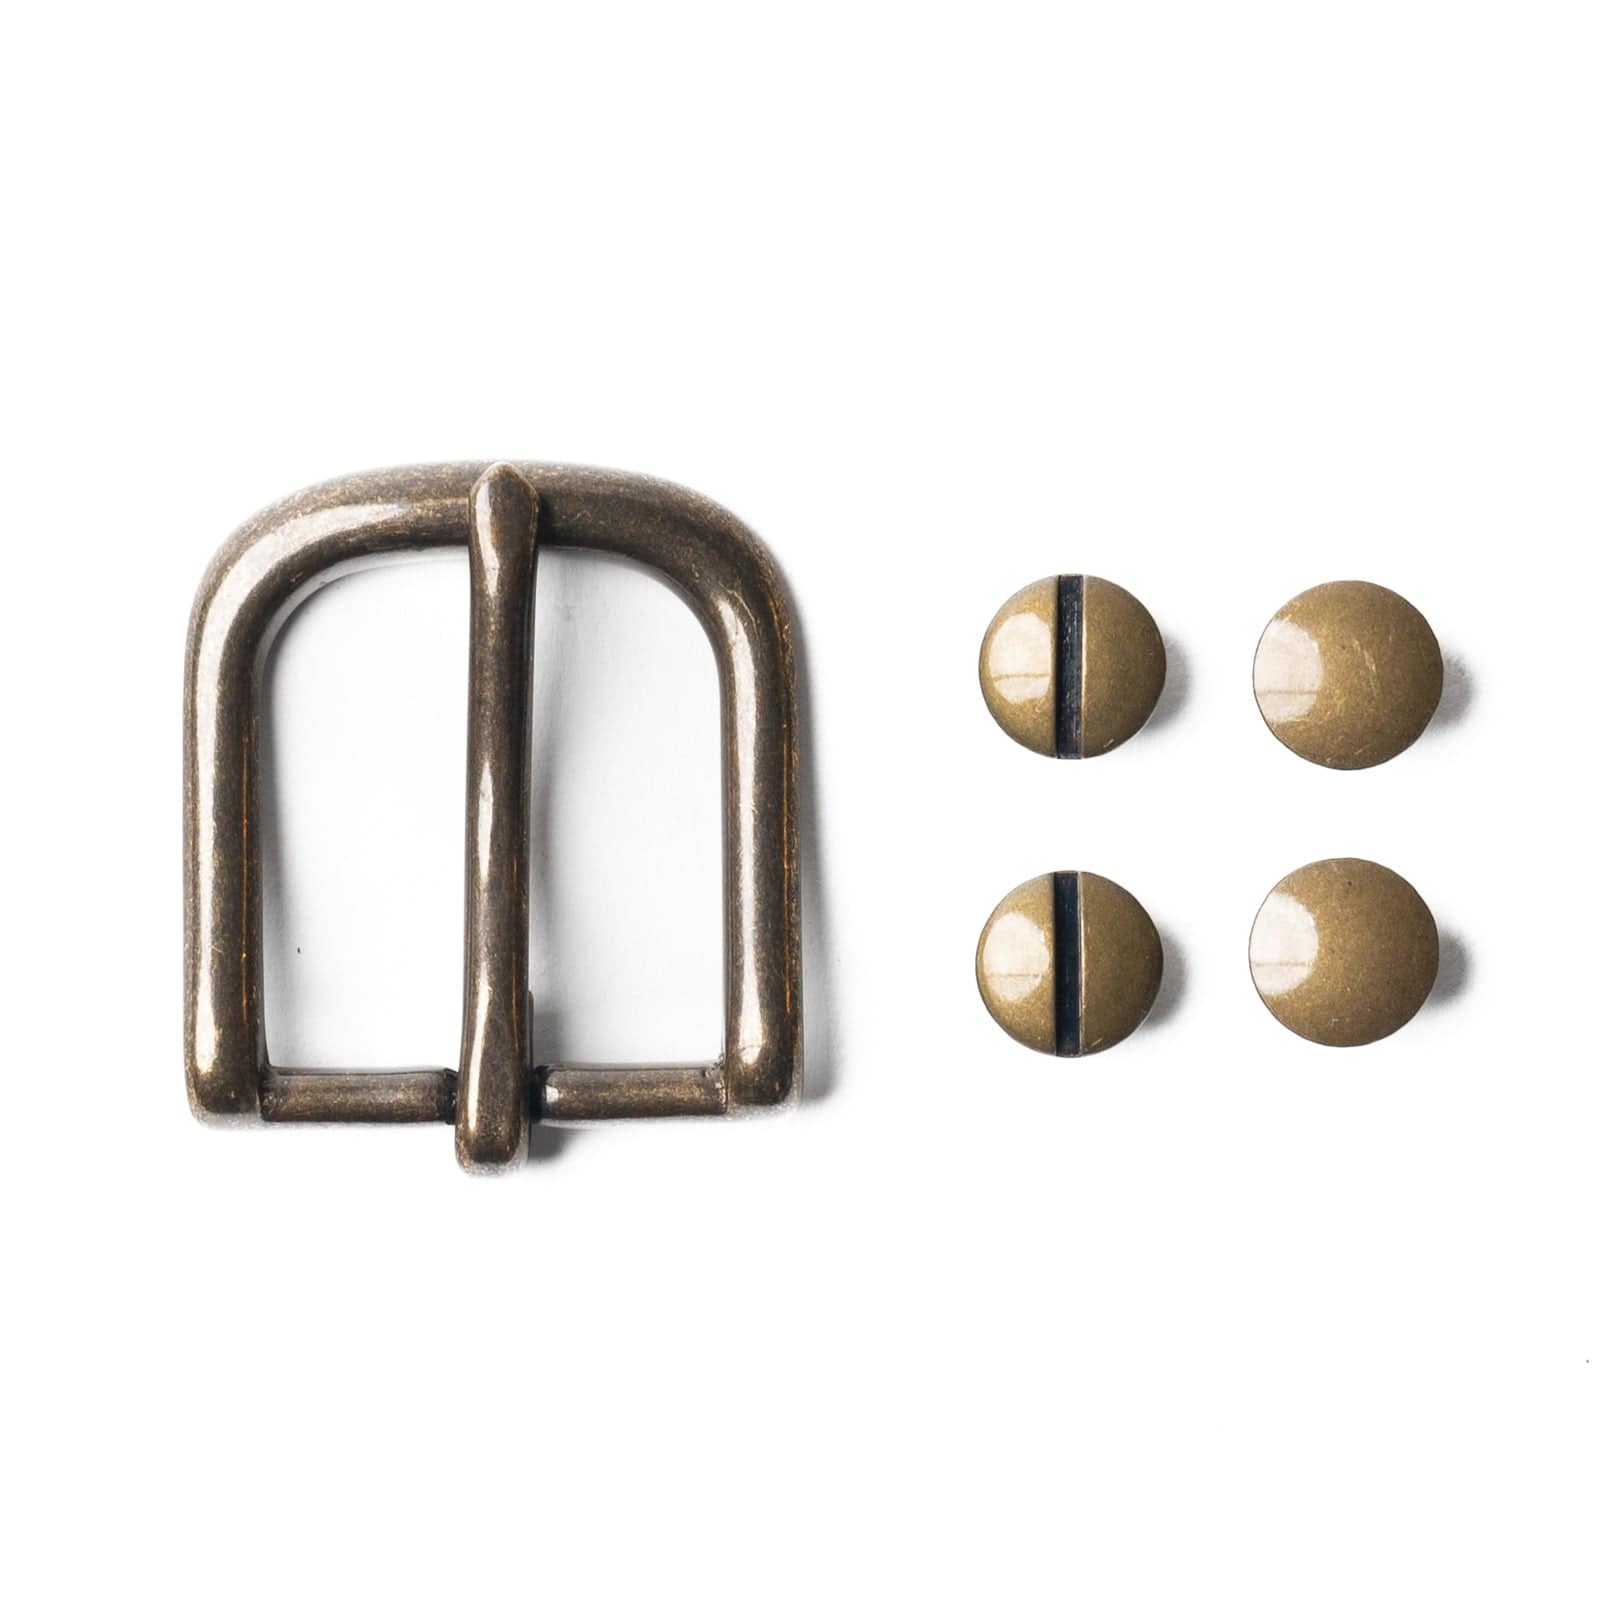
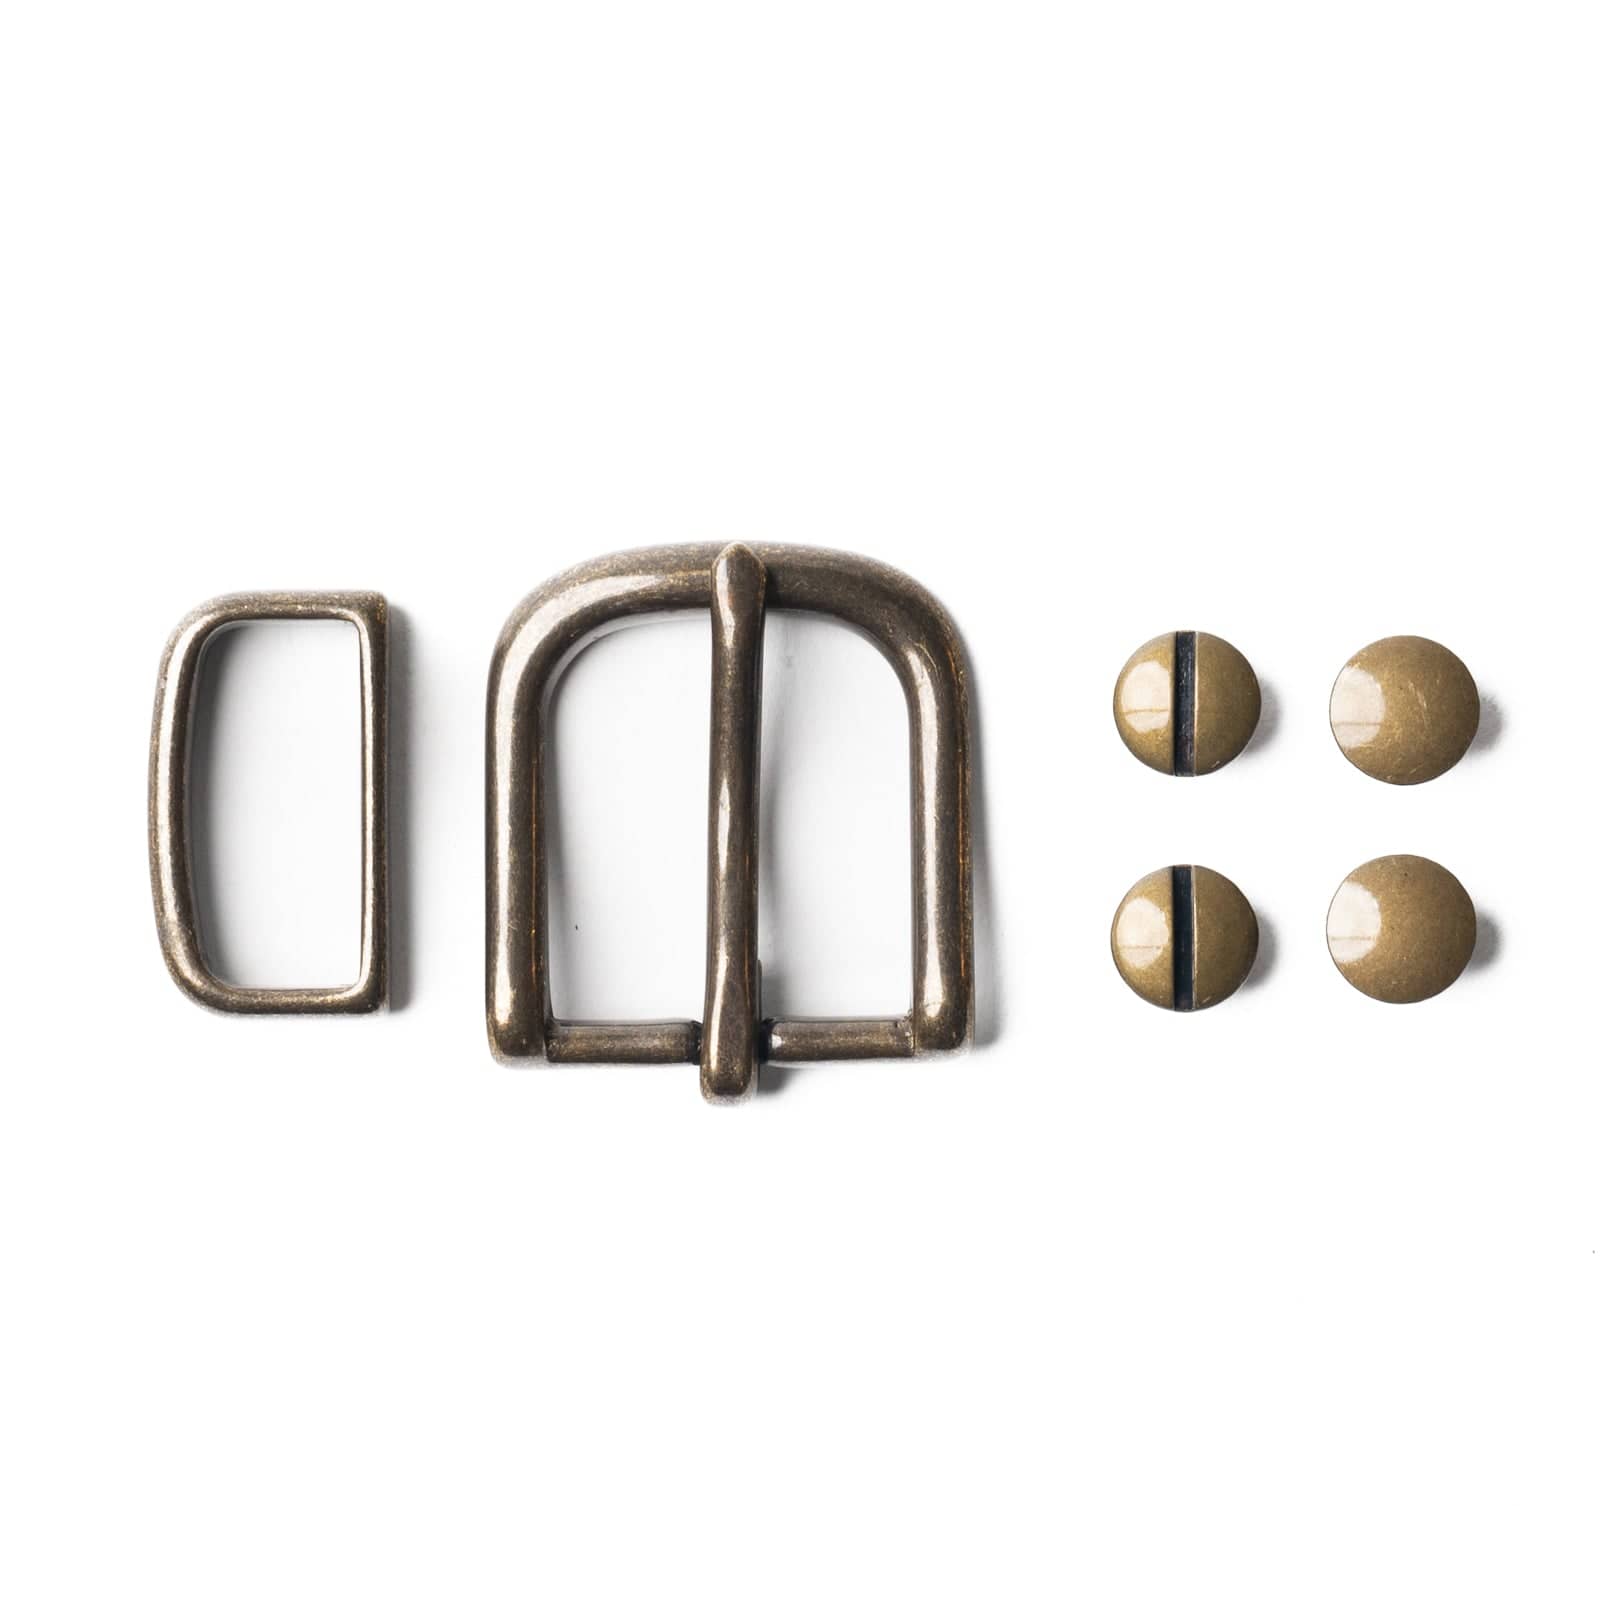
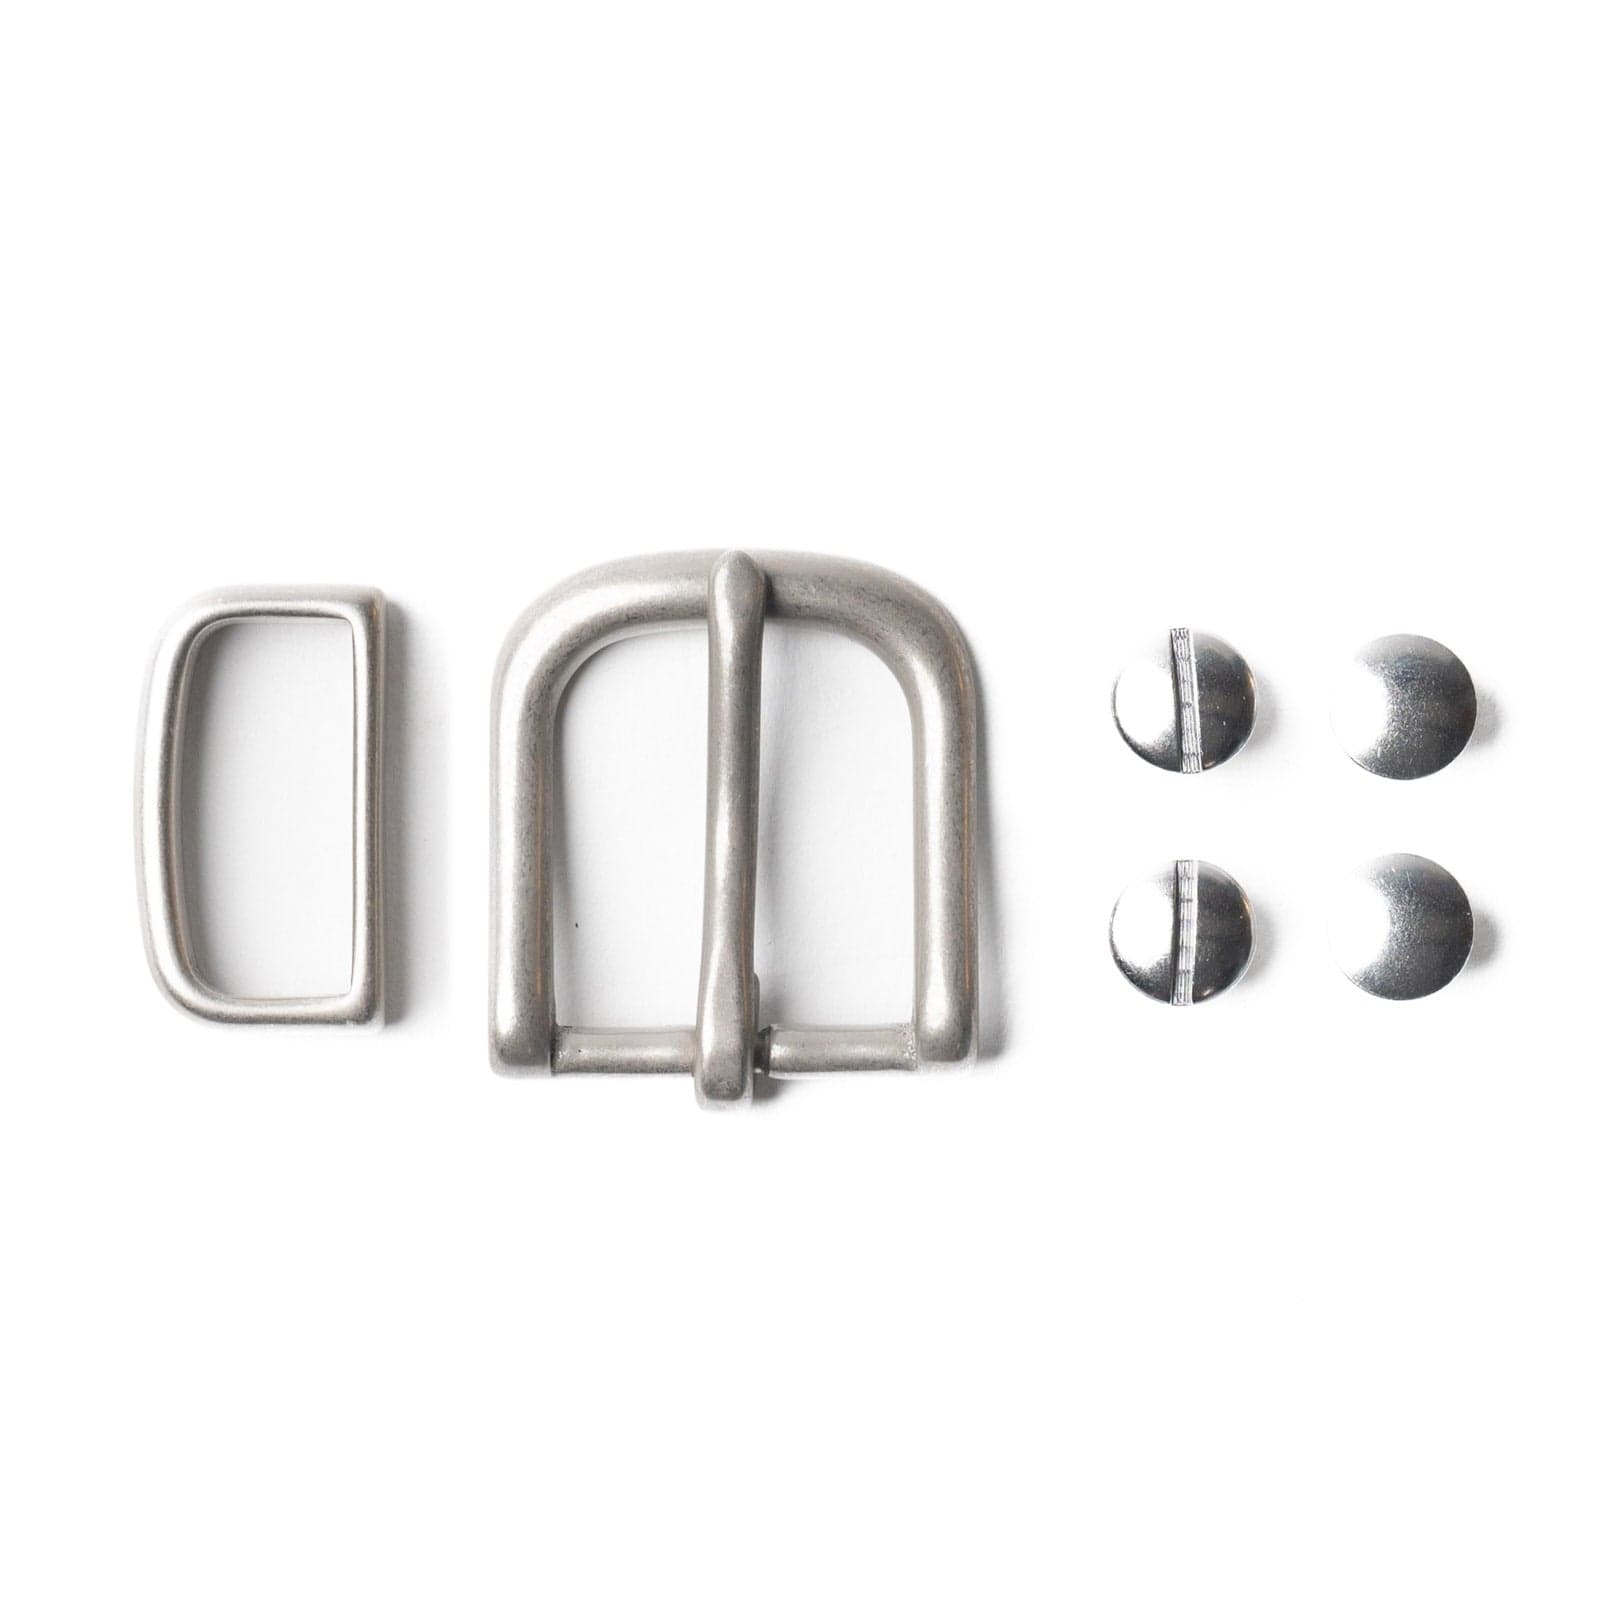
Accessories
Change up the look of your belt (or replace those missing screws).


HANDCRAFTED LEATHER BELTS
WHY POPOV BELTS LAST